In today’s digital world, screenshots have become an essential means of communication. Whether it’s capturing an error message, sharing an important document, or simply preserving a priceless moment, knowing how to take a screenshot on your laptop is a valuable skill. In this comprehensive guide, we will explore the different types of screenshots, the basics of taking a screenshot on a laptop, and the detailed steps for both Windows and Mac operating systems. Additionally, we will discuss editing and saving your screenshots, including some helpful tips and best practices along the way.
Understanding Screenshots: A Brief Overview
Before we delve into the nitty-gritty details of taking a screenshot on a laptop, let’s take a moment to understand the importance of this feature. Screenshots allow you to capture exactly what you see on your screen, making them an incredibly useful tool in various scenarios. From troubleshooting technical issues to creating visual instructions, screenshots enable effective communication and problem-solving.
The Importance of Screenshots
Screenshots serve multiple purposes in both personal and professional settings. They are particularly helpful when seeking technical support as they provide visual evidence of any problems you may be experiencing. For example, if you encounter an error message on your laptop, taking a screenshot of it can help the support team understand the issue better and provide a more accurate solution. Additionally, screenshots are invaluable in presentations and reports, allowing you to illustrate your points with ease. Instead of describing a complex interface or a specific software feature, you can simply include a screenshot to provide a visual representation. This not only enhances the clarity of your message but also saves time for both you and your audience.
Furthermore, sharing screenshots with friends and family can be a fun way to capture memorable moments. Whether it’s a hilarious conversation, a breathtaking view, or an adorable pet picture, screenshots enable you to preserve and share these experiences with others. In today’s digital age, where communication often takes place through messaging apps and social media platforms, screenshots have become a common means of capturing and sharing content.
Different Types of Screenshots
Before diving into the intricacies of taking screenshots on a laptop, it’s important to understand the different types available. On laptops, you can capture the entire screen or just a selected portion, depending on your needs. The ability to choose what to include in a screenshot provides flexibility and precision in conveying information.
If you want to highlight a specific area on your screen, such as an error message or a particular section of a webpage, you can take a screenshot of just that portion. This selective approach allows you to focus on the relevant details and eliminate any unnecessary clutter. It’s particularly useful when creating tutorials or providing step-by-step instructions, as you can capture only the essential elements and guide your audience’s attention accordingly.
Alternatively, you may need to capture a single window, such as a specific application or software interface. This type of screenshot is useful when you want to showcase a particular program or demonstrate a specific feature. By capturing only the window of interest, you can eliminate any distractions from the rest of your screen and provide a clear and concise visual representation.
Lastly, there’s the option to capture the entire screen. This type of screenshot is ideal when you want to capture the entire context of what you’re seeing on your laptop. Whether you’re sharing a funny meme, capturing a beautiful landscape, or documenting a complex issue, taking a screenshot of the entire screen ensures that nothing is left out. It provides a comprehensive snapshot of your digital environment, allowing others to see exactly what you see.
In conclusion, screenshots are a versatile and powerful tool that can enhance communication, aid in troubleshooting, and facilitate content sharing. Understanding the importance of screenshots and the different types available will empower you to make the most of this feature on your laptop.
The Basics of Taking a Screenshot on a Laptop
Now that we have a clear understanding of the importance and versatility of screenshots, let’s explore the fundamental process of taking a screenshot on a laptop. While the exact method may vary slightly depending on your operating system, the underlying principles remain the same.
When it comes to capturing a screenshot on a laptop, there are a few key steps to keep in mind. These steps will help you ensure that your screenshots are clear, well-framed, and effectively convey the desired information.
Preparing Your Screen for a Screenshot
Before capturing a screenshot, it’s essential to ensure that your screen is set up optimally. Close any unnecessary windows or programs to minimize clutter and focus on the specific content you wish to capture. This will not only result in cleaner screenshots but also make it easier for viewers to understand the context.
Imagine you’re working on a project and need to capture a screenshot of a particular graph or image. By closing irrelevant windows and programs, you create a distraction-free environment that allows your audience to focus solely on the content you want to highlight. This attention to detail can make a significant difference in the effectiveness of your screenshots.
Quick Keys for Screenshots
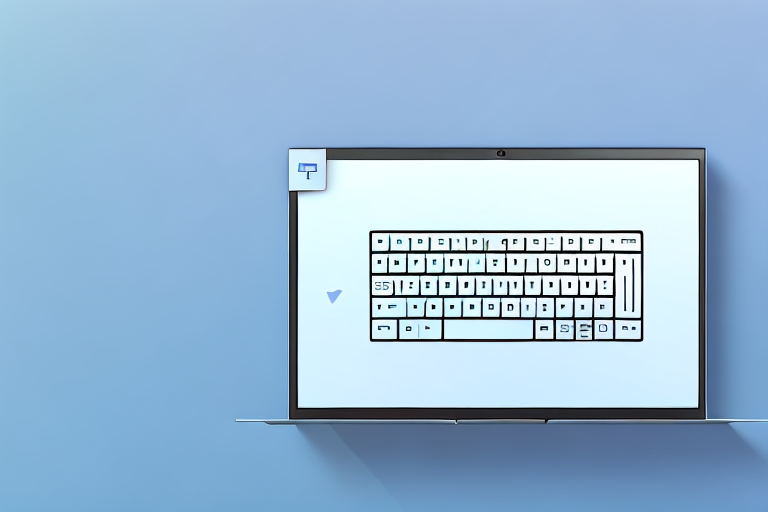
In most cases, laptops offer convenient keyboard shortcuts for capturing screenshots. These quick keys save time and allow you to capture the screen effortlessly. Commonly used combinations include the “Print Screen” key, “Alt + Print Screen” for capturing the active window, and “Windows Key + Shift + S” for taking selective screenshots. Familiarize yourself with these shortcuts to streamline your screenshot-taking process.
Mastering these quick keys can significantly enhance your productivity when it comes to taking screenshots. Instead of navigating through menus or using external software, you can simply press a few keys and capture the desired content instantly. This efficiency not only saves time but also allows you to capture screenshots in a seamless and uninterrupted manner.
Moreover, becoming familiar with these quick keys enables you to capture screenshots quickly during time-sensitive situations. Whether you’re documenting a software bug, capturing an important moment during a video call, or saving a reference image for future use, knowing the right shortcuts can make all the difference.
By following these steps and utilizing the quick keys available on your laptop, you can become a proficient screenshot taker. Whether you’re a student, professional, or simply someone who enjoys capturing and sharing interesting content, mastering the art of taking screenshots will undoubtedly prove to be a valuable skill.
Detailed Steps to Take a Screenshot on Windows
Windows laptops offer several methods for capturing screenshots. Let’s explore two popular options – using the Snipping Tool and using the Print Screen key.
Using the Snipping Tool
The Snipping Tool is a built-in screenshot tool that comes with Windows laptops. To access it, simply search for “Snipping Tool” in the Start menu. Once open, you can choose from various snipping options, including capturing rectangular, freeform, window, or full-screen screenshots. Once you’ve captured the desired area, you can save or edit the screenshot directly in the Snipping Tool.
Using the Print Screen Key
An alternative method for taking screenshots on a Windows laptop is by using the Print Screen key, often labeled as “PrtSc” or “PrtScn.” Pressing this key captures the entire screen and stores it in your clipboard. To save the screenshot as an image file, simply open a photo editing or word processing software, paste the screenshot from the clipboard, and save it accordingly.
Detailed Steps to Take a Screenshot on Mac
Mac laptops, running on macOS, offer built-in tools for capturing screenshots. Let’s explore two commonly used methods – using the Screenshot Toolbar and using keyboard shortcuts.
Using the Screenshot Toolbar
Mac laptops come equipped with a handy Screenshot Toolbar that provides quick access to various screenshot options. To access the toolbar, press the “Command + Shift + 5” keys simultaneously. From the toolbar, you can choose to capture the entire screen, a selected portion, or a specific window. Additionally, you can set a timer, customize the save location, and even enable thumbnail previews for greater convenience.
Using Keyboard Shortcuts
For those who prefer keyboard shortcuts, Mac laptops offer a range of options. Pressing “Command + Shift + 3” captures the entire screen and saves it as an image file on your desktop. On the other hand, pressing “Command + Shift + 4” allows you to select a specific portion of the screen by dragging the cursor, capturing only what you need. These keyboard shortcuts make taking screenshots on a Mac laptop quick and efficient.
Editing and Saving Your Screenshots
Once you’ve captured a screenshot, you may want to make some edits before sharing or saving it. Fortunately, various editing tools are available to enhance your screenshots. Most laptops come with built-in software that allows you to crop, annotate, add text, or highlight specific areas in your screenshots. Utilize these editing tools to make your screenshots more informative and visually appealing.
Basic Editing Tools for Screenshots
Basic editing tools typically include options for cropping, highlighting, adding text, and drawing shapes. These tools enable you to crop out any unnecessary elements, draw attention to specific details, and provide additional context where needed. Experiment with different editing techniques to make your screenshots more impactful and precise.
Best Practices for Saving Screenshots
When it comes to saving screenshots, it’s crucial to adopt good organizational practices. Create dedicated folders or directories to store your screenshots, ensuring easy access and preventing them from cluttering your desktop. Additionally, consider using descriptive filenames that clearly indicate the content or purpose of the screenshot. Following these best practices will help you stay organized and find specific screenshots quickly when needed.
Now that you’re equipped with the knowledge of how to take, edit, and save screenshots on your laptop, you can confidently capture and share important moments, troubleshoot issues effectively, and enhance your professional presentations. Screenshots are a powerful communication tool that can simplify complex ideas, eliminate confusion, and enrich your digital interactions.
Enhance Your Screenshots with GIFCaster
Ready to take your screenshot game to the next level? With GIFCaster, not only can you capture your screen, but you can also add a touch of personality and fun by incorporating GIFs. Say goodbye to mundane images and hello to vibrant, animated conversations. Use the GIFCaster App today and start turning your standard screenshots into engaging, creative expressions that everyone will enjoy!