In this article, we will guide you through the process of taking screenshots on your iPhone 13. Whether you want to capture a funny meme, save an important message, or share a beautiful moment from a video, screenshots are a useful tool. Let’s dive into the basics of screenshotting on your iPhone 13 and explore some helpful tips and tricks along the way.
Understanding the Basics of iPhone 13
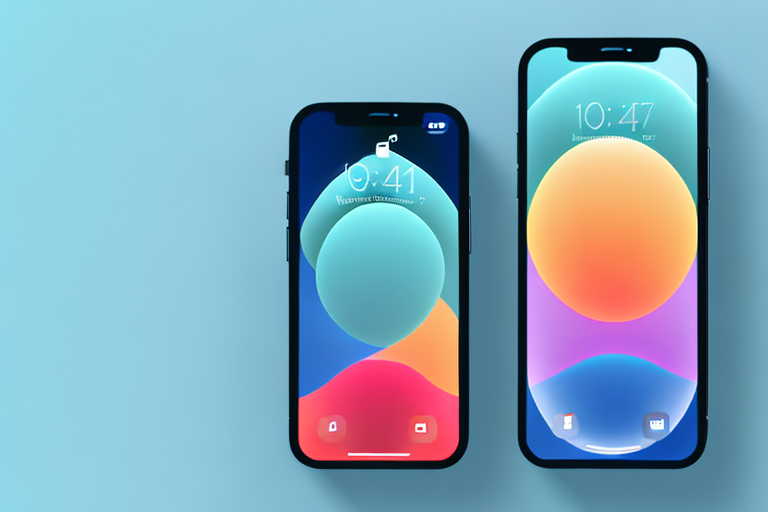
Before we delve into the world of screenshots, let’s take a moment to familiarize ourselves with the key features of the iPhone 13. This powerful device boasts an impressive Super Retina XDR display, a powerful A15 Bionic chip, and a stunning camera system. With these advanced capabilities, capturing and sharing screenshots becomes a breeze.
The Super Retina XDR display on the iPhone 13 is a sight to behold. It offers vibrant colors, deep blacks, and incredible brightness, making every image and video come to life. Whether you’re browsing through your photo gallery or watching your favorite movies, the display on the iPhone 13 will leave you in awe.
Powering the iPhone 13 is the A15 Bionic chip, which delivers lightning-fast performance and efficient power management. This chip ensures smooth multitasking, fast app launches, and seamless gaming experiences. No matter how demanding the task, the iPhone 13 can handle it with ease.
One of the standout features of the iPhone 13 is its camera system. With a combination of advanced hardware and intelligent software, the iPhone 13 allows you to capture stunning photos and videos. The camera system includes features like Night mode, Deep Fusion, and Smart HDR 4, which work together to produce professional-quality results.
Key Features of iPhone 13
The iPhone 13 comes packed with cutting-edge features that enhance your overall experience. Highlights include improved battery life, 5G connectivity, enhanced display quality, and advanced camera functionalities. These features play a crucial role in ensuring that your screenshots are of the highest quality.
Thanks to the improved battery life on the iPhone 13, you can use your device for longer periods without worrying about running out of power. Whether you’re browsing the web, streaming videos, or playing games, the iPhone 13 will keep up with your busy lifestyle.
5G connectivity is another standout feature of the iPhone 13. With faster download and upload speeds, you can quickly share your screenshots with friends and family or upload them to your favorite social media platforms. Say goodbye to long waiting times and hello to instant connectivity.
The enhanced display quality on the iPhone 13 ensures that your screenshots look stunning. Whether you’re capturing a beautiful landscape or a funny meme, the colors will be vibrant, the details will be sharp, and the overall visual experience will be immersive.
The advanced camera functionalities on the iPhone 13 take your screenshot game to the next level. With features like ProRAW, ProRes video recording, and Photographic Styles, you have complete control over the look and feel of your screenshots. You can unleash your creativity and capture screenshots that truly stand out.
Navigating the iPhone 13 Interface
Before we dive into taking screenshots, it’s important to become familiar with the iPhone 13 interface. The intuitive interface allows you to effortlessly navigate through various apps and settings. This familiarity will come in handy when you’re ready to take screenshots quickly and efficiently.
The iPhone 13 interface is designed to be user-friendly and intuitive. The home screen is where you’ll find all your apps, neatly organized and easily accessible. You can customize the layout of your home screen by rearranging the apps, creating folders, and even adding widgets for quick access to information.
Swiping down from the top of the screen brings up the Control Center, where you can access commonly used settings and features. From here, you can adjust the brightness, toggle Wi-Fi and Bluetooth on or off, control media playback, and much more. It’s a convenient way to quickly access essential functions without navigating through multiple menus.
To take a screenshot on the iPhone 13, simply press the side button and the volume up button simultaneously. The screen will flash, and you’ll hear a satisfying shutter sound, indicating that the screenshot has been captured. You can then find your screenshots in the Photos app, ready to be edited, shared, or saved for later.
Now that you’re familiar with the key features of the iPhone 13 and how to navigate its interface, you’re ready to dive into the world of screenshots. Whether you’re capturing memorable moments, saving important information, or sharing funny conversations, the iPhone 13 has everything you need to make your screenshots shine.
Preparing to Take a Screenshot
Before you proceed with taking a screenshot, there are a few preparatory steps to ensure optimal results. Checking your settings and adjusting the screen brightness are essential. Let’s explore these steps in detail.
Checking Your Settings
Prior to taking a screenshot, it’s important to make sure your device settings are configured to your liking. Open the Settings app and navigate to the “Control Center” section. From there, customize your options to include the “Screenshot” feature in the Control Center. This will allow for easy access to the screenshot functionality.
Once you have enabled the screenshot feature in the Control Center, you can also choose to customize other settings related to screenshots. For example, you may want to enable the option to save screenshots directly to your Photos app or specify a different folder for saving them. These settings can help streamline your screenshot-taking process and ensure that the captured images are stored in a convenient location.
Additionally, some devices offer the ability to include a timer delay for taking screenshots. This can be useful in situations where you need to capture a specific moment on your screen but require a few seconds to set up the desired content. Exploring the settings related to screenshot timers can enhance your screenshot-taking experience.
Ensuring Optimal Screen Brightness
An ideal screenshot is one that captures the content clearly. To ensure this, it’s vital to set your screen brightness to an optimal level. Adjusting the brightness can be done by swiping up from the bottom of the screen to access the Control Center and using the brightness slider to achieve the desired level.
When adjusting the screen brightness for taking screenshots, it’s important to strike a balance. Setting the brightness too high may result in washed-out or overexposed images, while setting it too low can lead to dark and unclear screenshots. Experimenting with different brightness levels and finding the one that best represents the content you want to capture is key.
Furthermore, some devices offer an auto-brightness feature that adjusts the screen brightness based on ambient lighting conditions. This feature can be useful in scenarios where you frequently switch between different lighting environments. By enabling auto-brightness, your device will automatically adjust the screen brightness to optimize the screenshot quality, regardless of the lighting conditions.
It’s worth noting that certain apps or websites may have their own brightness settings that override the device’s default brightness level. In such cases, it’s recommended to adjust the brightness within the specific app or website to ensure accurate representation of the content in your screenshots.
Step-by-Step Guide to Taking a Screenshot
Now that we have covered the groundwork, let’s move on to the actual process of taking a screenshot on your iPhone 13. There are two primary methods to accomplish this: using the side and volume buttons or utilizing the AssistiveTouch feature.
Using the Side and Volume Buttons
To take a screenshot using the side and volume buttons, simply locate the content you want to capture on your screen. Once you have it positioned, press the side button (located on the right side of the device) and the volume up button (located on the left side) simultaneously. You will see a flash and hear the camera shutter sound, indicating that the screenshot has been successfully taken. The screenshot will be saved to your Photos app for easy access.
Using AssistiveTouch
If you prefer a touch-based approach, iPhone 13 offers the AssistiveTouch feature. To enable AssistiveTouch, go to Settings > Accessibility > Touch > AssistiveTouch. Once enabled, a small, customizable floating button will appear on your screen. Simply tap the AssistiveTouch button, proceed to “Device,” and select “Screenshot.” This will instantly capture the desired content and save it to your Photos app.
Accessing and Editing Your Screenshots
Now that you have successfully taken a screenshot, let’s explore how to access and edit your newly captured images. By default, all screenshots are saved to the Photos app, ensuring easy retrieval and management.
Finding Your Screenshots in Photos
To locate your screenshots, simply open the Photos app and navigate to the “Albums” tab. From there, select the “Screenshots” album to access all your captured images. This centralized location makes it convenient to find and organize your screenshots.
Using the Markup Tool for Editing
The Markup tool allows you to make quick edits to your screenshots without the need for third-party apps. With this powerful built-in feature, you can crop, annotate, add text, draw, and much more. Simply open the desired screenshot, tap the “Edit” button, and select the Markup tool represented by a pencil icon. Let your creativity shine as you customize your screenshots.
Sharing and Saving Your Screenshots
Now that your screenshots are captured and edited to perfection, it’s time to share them with others or save them for future reference. The iPhone 13 offers several convenient options for sharing and saving your screenshots.
Sending Screenshots via Messages or Mail
One of the easiest ways to share your screenshots is through messages or email. Open the Photos app, select your desired screenshot, tap the Share button (represented by a square with an arrow pointing up), and choose your preferred communication method. This allows you to effortlessly share your captures with friends, family, or colleagues.
Saving Screenshots to Files or Notes
In addition to sharing, you have the option to save your screenshots for future reference. If you prefer to organize your screenshots in folders or attach them to notes, the Files app and Notes app are at your disposal. Simply navigate to the screenshot, tap the Share button, and choose either “Save to Files” or “Add to Notes.” This ensures your screenshots are readily available whenever you need them.
In conclusion, taking screenshots on your iPhone 13 is a simple process that allows you to capture and share important moments with ease. By understanding the basics of your device, preparing the settings, and following the step-by-step guide, you can become a master at screenshotting in no time. Remember, the ability to access, edit, and share your screenshots makes the iPhone 13 a powerful tool for capturing and preserving memories.
Enhance Your Screenshots with GIFCaster
Ready to take your iPhone 13 screenshots to the next level? With GIFCaster, you can add a burst of fun and creativity to your captures. Turn a simple screenshot into an engaging, animated conversation piece by incorporating GIFs. Whether it’s a celebratory moment or just adding a touch of humor to your day, use the GIFCaster App to make every screenshot a memorable one. Start expressing yourself in a whole new way today!