Microsoft Word is a versatile word processing program that allows you to do so much more than just type up documents. One of the useful features it offers is the ability to edit text in a screenshot. This can come in handy when you need to make changes or add annotations to an image containing text. In this article, we will explore the step-by-step process of editing text in a screenshot in Word.
Understanding the Basics of Word and Screenshots
Before we dive into the details of editing text in a screenshot, it’s important to have a basic understanding of Microsoft Word and the importance of screenshots.
What is Microsoft Word?
Microsoft Word is a widely used word processing program developed by Microsoft. It allows users to create, edit, and format text documents.
With Microsoft Word, you can easily create professional-looking documents for various purposes. Whether you need to write a letter, create a resume, or draft a report, Word provides a user-friendly interface and a wide range of formatting tools to help you achieve your desired results. You can customize fonts, adjust margins, add images and tables, and even create complex documents with headers, footers, and page numbers.
Furthermore, Microsoft Word offers collaboration features, allowing multiple users to work on the same document simultaneously. This makes it an ideal tool for team projects, where members can make edits and leave comments in real-time, enhancing productivity and efficiency.
The Importance of Screenshots
Screenshots are images that capture the contents of your computer screen. They can be helpful for various purposes, such as illustrating a point, providing visual instructions, or documenting information.
In today’s digital age, where visual communication plays a significant role, screenshots have become an essential tool for conveying information effectively. Whether you need to demonstrate a software bug, guide someone through a step-by-step process, or share an interesting online article, screenshots can help you communicate your message clearly and concisely.
Moreover, screenshots serve as valuable evidence in troubleshooting technical issues. When seeking assistance from technical support, providing screenshots can help them understand the problem better and provide more accurate solutions. It eliminates the need for lengthy explanations and ensures that everyone is on the same page.
Additionally, screenshots can be used for documentation purposes. When conducting research or gathering information online, capturing screenshots of relevant web pages or online resources can help you keep a record of your findings. This can be particularly useful when citing sources or when you need to refer back to specific information at a later time.
Overall, understanding the basics of Microsoft Word and the importance of screenshots will equip you with the necessary knowledge and skills to effectively utilize these tools in various personal and professional contexts. Whether you’re creating documents or capturing visual information, having a solid foundation in Word and screenshots will undoubtedly enhance your productivity and communication abilities.
Preparing Your Screenshot for Editing
Editing text in a screenshot can be a useful skill to have, whether you want to highlight important information, make corrections, or add annotations. Before you can dive into the exciting world of screenshot editing, there are a few essential steps you need to follow to prepare the image properly. Let’s explore these steps in detail:
- Taking a Screenshot: The first step in preparing your screenshot for editing is capturing the screen content you wish to modify. This can be done by using the screenshot function on your device. Whether you’re using a computer, smartphone, or tablet, there are usually built-in methods to take screenshots. On a computer, you can use keyboard shortcuts like “Print Screen” or “Command + Shift + 3” to capture the entire screen or a specific area. On mobile devices, you can often press a combination of buttons, such as the power button and volume down button, to take a screenshot. Once you’ve taken the screenshot, it’s time to move on to the next step.
- Importing Your Screenshot into Word: Now that you have your screenshot, it’s time to bring it into a software program where you can make the necessary edits. One popular option is Microsoft Word, which offers a range of tools for editing and formatting text. To import your screenshot into Word, open a new or existing document and navigate to the location where you want to make the edits. Then, go to the “Insert” tab and click on “Pictures” or “Screenshot” (depending on your version of Word). Select the screenshot file from your device’s storage, and it will be inserted into the document. You can resize or reposition the screenshot as needed to fit your editing requirements.
By following these steps, you are now ready to embark on your screenshot editing journey. Whether you’re a professional designer, a student working on a project, or simply someone who loves to enhance their screenshots, these preparatory steps will ensure that you have a solid foundation for your editing endeavors. Remember, the key to successful screenshot editing lies not only in the technical steps but also in your creativity and attention to detail.
Editing Text in a Screenshot
Now that your screenshot is ready, let’s delve into the process of editing text within an image:
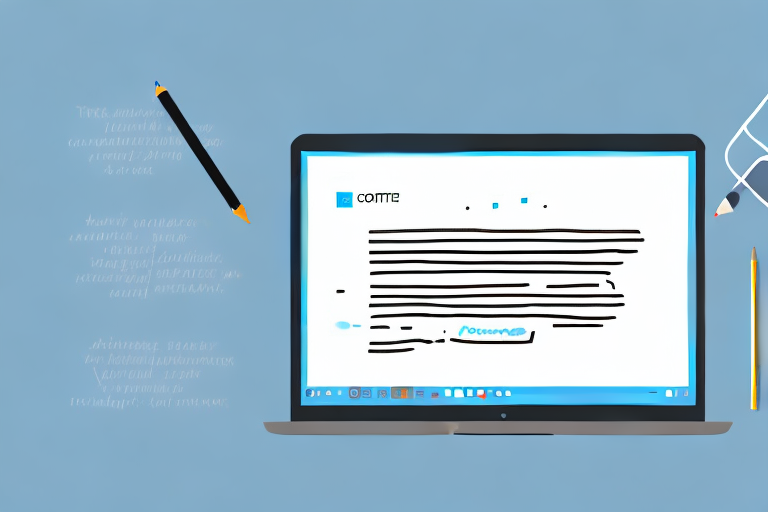
When it comes to editing text within a screenshot, there are various techniques and tools you can employ to make the necessary modifications. One such method is by utilizing the drawing tools available in popular software like Microsoft Word. These drawing tools offer a wide range of options that can be used to modify the text in your screenshot. From shapes and lines to arrows and text boxes, these tools provide you with the flexibility to make the desired changes seamlessly.
- Using the Drawing Tools:
One of the ways you can edit text within a screenshot is by leveraging the drawing tools provided by software applications like Microsoft Word. These tools allow you to add various elements such as shapes, lines, and arrows to your screenshot. By combining these graphical elements with the text editing features, you can create visually appealing and informative screenshots.
For instance, let’s say you want to highlight a specific portion of text in your screenshot. With the drawing tools, you can easily draw a shape around the text, such as a rectangle or an oval, and add a callout arrow pointing to it. This not only draws attention to the text but also provides additional context or explanation.
Furthermore, the drawing tools also enable you to customize the appearance of these graphical elements. You can choose different colors, line styles, and fill patterns to make the modifications stand out or blend in with the overall design of your screenshot.
- Adding Text Boxes Over Screenshot Text:
Another effective way to edit text directly on the screenshot is by using text boxes. Text boxes allow you to insert, delete, or modify text without altering the original image. This method is particularly useful when you need to make changes to specific portions of text within the screenshot.
With text boxes, you have the freedom to resize, reposition, and format the text according to your requirements. You can adjust the font size, style, and color to ensure consistency with the rest of the screenshot or to emphasize certain details.
Moreover, text boxes also offer the advantage of being easily editable. If you realize that the text you inserted needs further refinement or revision, you can simply click on the text box and make the necessary changes without affecting the rest of the screenshot.
Advanced Editing Techniques
If you want to take your text editing skills to the next level, consider using Word’s advanced image editing features:
Using Word’s Image Editing Features: Word offers a range of image editing tools that enable you to enhance the appearance of your screenshot. These features include adjusting brightness and contrast, applying filters, and cropping the image.
Tips for Clear and Effective Text Editing: When editing text in a screenshot, it’s important to follow some best practices to ensure clarity and effectiveness. Some tips include using a readable font, adjusting text size and color, and aligning text properly.
Saving and Sharing Your Edited Screenshot
Your hard work is complete, and now it’s time to save and share your edited screenshot:
- How to Save Your Edited Screenshot: To save your edited screenshot, go to the “File” tab in Word, click on “Save As,” and choose a location on your computer to save the file.
- Sharing Your Edited Screenshot in Word Documents: Once you have saved your edited screenshot, you can easily incorporate it into other Word documents by inserting the image into the desired location.
Editing text in a screenshot can be a valuable skill, especially when you need to make changes or add information to an existing image. By following the steps outlined in this article, you can confidently edit text in screenshots using Microsoft Word’s powerful features. So, the next time you come across a screenshot with text that needs editing, you’ll know exactly how to handle it.
Take Your Screenshots to the Next Level with GIFCaster
Now that you’ve mastered editing text in screenshots with Word, why not add a twist of fun to your images? With GIFCaster, you can bring your screenshots to life by adding animated GIFs. Whether it’s to celebrate a milestone or just to add a touch of humor to your day, GIFCaster makes your screenshots more engaging and allows for creative self-expression. Ready to turn your work messages into a fun celebration? Use the GIFCaster App and start spreading joy with your enhanced screenshots today!