In today’s digital age, capturing screenshots has become an essential skill for many iPhone users. Whether you want to save an interesting article, capture a funny conversation, or document an important moment, knowing how to take a screenshot can be incredibly useful. In this article, we will walk you through the step-by-step process of making a screenshot on the iPhone XR, one of Apple’s popular smartphone models.
Understanding the Basics of iPhone XR
Before diving into the world of screenshots, let’s familiarize ourselves with the key features of the iPhone XR. This powerful device boasts a stunning liquid retina display, providing vibrant and true-to-life visuals. The A12 Bionic chip ensures smooth performance, while the advanced Face ID technology allows for secure and seamless authentication.
When it comes to the iPhone XR, there’s more than meets the eye. This remarkable smartphone is not just about its sleek design and impressive display. It’s about the experience it offers to its users. From the moment you hold it in your hands, you can feel the craftsmanship and attention to detail that Apple has put into this device.
Let’s start with the liquid retina display. The iPhone XR’s screen is not just any ordinary screen. It’s a masterpiece of engineering. With its advanced color management system, the display is able to deliver stunningly accurate colors. Whether you’re watching a movie, browsing the web, or playing games, every image and video will come to life with incredible clarity and richness.
But the iPhone XR is not just about looks. It’s also about power. Underneath its sleek exterior lies the A12 Bionic chip, Apple’s most advanced chip to date. This chip is not only faster and more efficient than its predecessors, but it also brings new capabilities to the table. From augmented reality experiences to machine learning tasks, the A12 Bionic chip ensures that your iPhone XR can handle anything you throw at it.
Key Features of iPhone XR
The iPhone XR comes equipped with several noteworthy features. One standout aspect is the single-lens 12-megapixel camera, known for its exceptional image quality and advanced capabilities. With features like Smart HDR and Portrait Mode, you can capture stunning photos with depth and detail. Whether you’re a professional photographer or just someone who loves taking pictures, the iPhone XR’s camera will not disappoint.
But the iPhone XR is not just about taking photos. It’s also about enjoying them. With its impressive battery life, you can spend more time capturing and sharing moments without worrying about running out of power. And when it’s time to recharge, you can do it wirelessly. That’s right, the iPhone XR supports wireless charging, so you can say goodbye to messy cables and hello to convenience.
Navigating the iPhone XR Interface
As with any smartphone, familiarizing yourself with the interface is crucial. The iPhone XR utilizes a swipe-based gesture system, replacing the traditional home button. Navigation and multitasking are done by swiping up from the bottom of the screen or swiping left or right along the bottom edge. This intuitive gesture system allows for a more immersive and fluid experience, making it easier than ever to navigate through your apps and switch between tasks.
But the iPhone XR’s interface is not just about gestures. It’s also about customization. With iOS, Apple’s operating system, you have the freedom to personalize your device to suit your needs and preferences. From rearranging your home screen icons to choosing your favorite widgets, the iPhone XR puts you in control of your device.
Now that you’re up to speed with the basics, let’s move on to preparing your iPhone XR for screenshots. But before we do, take a moment to appreciate the beauty and innovation that Apple has packed into this incredible device. The iPhone XR is not just a smartphone, it’s a work of art.
Preparing Your iPhone XR for Screenshots
Before diving into the world of screenshots, let’s ensure that your iPhone XR is set up properly. Taking a screenshot won’t be possible if certain settings are not enabled, or if your device is low on storage. Let’s cover these crucial steps to get you ready to capture those memorable moments.
Checking Your Settings
Start by opening the “Settings” app on your iPhone XR. Scroll down and tap on “Control Center”. Here, you can customize the layout and configuration of your Control Center. Ensure that the “Screen Recording” option is included in the “Included Controls” section. If it’s not, tap the green plus sign next to it to add it. This will allow you to easily access screen recording and screenshot options from the Control Center.
The Control Center is a powerful tool that provides quick access to various features and functions of your iPhone XR. In addition to screen recording and screenshots, you can also control brightness, enable/disable Wi-Fi and Bluetooth, and even use shortcuts for apps like the flashlight or calculator. Customizing the Control Center to include the screen recording option ensures that you have easy access to this feature whenever you need it.
Ensuring Sufficient Storage
Screenshots can quickly take up valuable storage space on your device, so it’s essential to ensure you have enough available. Navigate back to the “Settings” app and tap on “General”. From there, select “iPhone Storage”. Here, you will find a breakdown of your device’s storage usage, as well as recommendations for freeing up space if needed. Delete any unnecessary apps, photos, or files to make room for your future screenshot collection.
Managing storage on your iPhone XR is crucial for optimal performance and functionality. In addition to deleting unnecessary files, you can also offload unused apps, enable iCloud storage, or transfer files to an external device. By regularly monitoring and optimizing your device’s storage, you can ensure that you have enough space to capture and store all the screenshots you desire.
Remember, screenshots are not only useful for capturing funny moments, important information, or sharing content with others, but they can also serve as a visual reminder of your digital journey. Whether it’s a screenshot of a memorable conversation, a stunning photo, or an inspiring quote, these snapshots can help you preserve and relive special moments in your life.
Step-by-Step Guide to Taking a Screenshot
Now that you’re all set up, let’s dive into the actual process of capturing a screenshot on your iPhone XR. There are two primary methods you can use, so choose the one that suits you best.
Using the Side and Volume Buttons
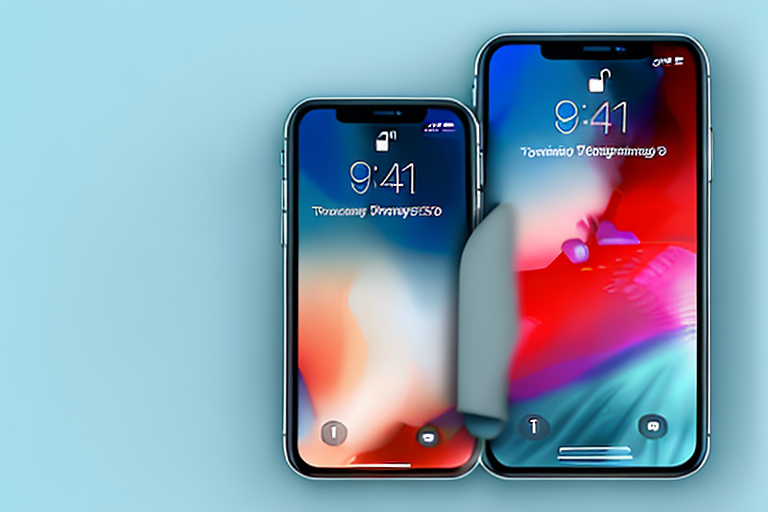
The simplest and most common method is to use the physical buttons on your iPhone XR. Start by locating the “Side” button, which is located on the right side of the device. Next, navigate to the screen you wish to capture. Simultaneously press and hold the “Side” button and the “Volume Up” button. You’ll see a brief animation and hear a shutter sound, indicating that the screenshot was successful. The captured image will be saved to your device’s photo gallery.
Using AssistiveTouch
If pressing physical buttons is not ideal for you, you can also take a screenshot using AssistiveTouch. This accessibility feature allows you to perform various actions on your device with just a few taps. To enable AssistiveTouch, go to “Settings” and select “Accessibility”. Tap on “Touch” and then “AssistiveTouch”. Toggle the switch to turn it on. Once enabled, you’ll see a small gray circle appear on your screen. Tap on it, then tap “Device” and “More”. Finally, tap “Screenshot” to capture an image of your screen.
Editing Your Screenshot
Now that you’ve successfully captured a screenshot, you may want to fine-tune it before sharing or saving. Luckily, the iPhone XR offers a range of editing tools to help you enhance your screenshots.
Using the Instant Markup Tool
After taking a screenshot, a preview of the image will appear in the bottom left corner of your screen. Tap on it to open the Instant Markup tool. Here, you can draw, highlight, add text, and even magnify specific areas of the screenshot. When you’re satisfied with your edits, tap “Done” to save the changes.
Cropping and Resizing Your Screenshot
If you want to focus on a specific part of your screenshot, you can easily crop and resize the image. Open the screenshot in the Photos app and tap “Edit”. Select the crop tool, which resembles a square with arrows at the corners. Adjust the corners of the crop box to select the desired area, then tap “Done” to apply the crop.
Sharing and Saving Your Screenshot
Now that you’ve captured and edited your screenshot, it’s time to share it with the world or save it for later use.
Sending Screenshots via Message or Mail
If you want to share your screenshot directly with someone, you can do so via a message or email. Open the Photos app, select the screenshot, and tap the share icon at the bottom left corner. Choose the desired communication method, select the recipient, and send away.
Saving Screenshots to Your Photos App
If you simply want to store your screenshot for future reference, you can save it directly to your Photos app. Open the screenshot in the Photos app and tap the share icon. Select “Save Image” to add it to your photo library for safekeeping.
With this comprehensive guide, you now possess the knowledge and skills to effortlessly capture, edit, and share screenshots on your iPhone XR. Whether it’s for personal use, work-related tasks, or sharing memorable moments with loved ones, taking screenshots has never been easier. So go ahead, start capturing those precious memories, and make the most of your iPhone XR’s incredible capabilities.
Enhance Your Screenshots with GIFCaster
Ready to take your iPhone XR screenshots to the next level? With GIFCaster, you can infuse your captures with the magic of GIFs, adding a layer of fun and creativity to every image. Whether you’re looking to spice up a work message or just want to express yourself in a unique way, GIFCaster is the perfect tool for the job. Use the GIFCaster App today and transform your ordinary screenshots into engaging, animated conversations.