In today’s digital age, capturing screenshots has become an integral part of our lives. Whether it’s for sharing important information or preserving memories, screenshots offer a convenient way to capture and store visual content. While most of us are familiar with capturing screenshots of images and web pages, did you know that you can also capture video screenshots on your iPhone? In this article, we will guide you through the process of making a video screenshot on iPhone.
Understanding Video Screenshots
Before we dive into the details, let’s take a moment to understand what a video screenshot actually is. Unlike traditional screenshots that capture still images, a video screenshot allows you to capture a specific moment or frame from a video. It’s a fantastic feature that can be useful in various scenarios, such as capturing a funny scene from a movie or extracting a particular frame for analysis purposes.
What is a Video Screenshot?
A video screenshot, also known as a video frame capture, is a single image extracted from a video. It freezes a specific moment in time, allowing you to save and share that particular frame instead of the entire video. This can be particularly useful when you want to highlight a specific scene or simply save a captivating moment from the video.
When you take a video screenshot, you are essentially preserving a snapshot of that exact moment in the video. This snapshot can be saved as an image file, such as a JPEG or PNG, and can be easily accessed and shared. Video screenshots are commonly used in various fields, including entertainment, education, and research.
In the entertainment industry, video screenshots are often used for promotional purposes. Movie studios may release screenshots from upcoming films to generate buzz and excitement among audiences. These screenshots give viewers a glimpse into the visual style and tone of the movie, enticing them to watch it when it is released.
Video screenshots are also valuable in the field of education. Teachers can capture screenshots from educational videos to create visual aids for their lessons. These screenshots can be used to highlight key points, illustrate concepts, or provide examples. By incorporating video screenshots into their teaching materials, educators can enhance the learning experience for their students.
Importance of Video Screenshots
Video screenshots offer numerous benefits for iPhone users. They allow you to create visual references for personal or professional use. For instance, you can capture a screenshot of a video tutorial to refer back to later or take screenshots of important moments from a video call. By capturing video screenshots, you can conveniently share specific frames instead of sharing the entire video, saving both storage space and the recipient’s time.
In addition to their practical uses, video screenshots can also be a source of creativity and inspiration. Artists and designers can extract frames from videos to use as references for their artwork. They can study the composition, lighting, and color palettes of these frames to inform their own creations. Video screenshots can serve as a starting point for new ideas and artistic exploration.
Furthermore, video screenshots can be used for analysis purposes. Researchers and scientists may extract frames from videos to study motion patterns, analyze facial expressions, or observe changes over time. These screenshots provide a visual record that can be examined and analyzed in detail, contributing to advancements in various fields of study.
Overall, video screenshots are a versatile tool that allows you to capture and share specific moments from videos. Whether you’re using them for practical purposes, artistic endeavors, or scientific research, video screenshots offer a wealth of possibilities and opportunities. So next time you come across a video worth capturing, don’t hesitate to take a screenshot and preserve that special moment.
Preparing Your iPhone for Video Screenshots
Before we start capturing video screenshots, there are a few steps you need to follow to ensure your iPhone is ready for the task.
Checking Your iPhone Model
Firstly, make sure you own an iPhone model that supports video screenshot capabilities. Video screenshots are available on iPhone models running iOS 11 or above.
If you have an older iPhone model or an outdated iOS version, you may need to update your device. However, it’s important to note that not all older iPhone models support video screenshots even with the latest iOS update.
To check if your iPhone model supports video screenshots, you can visit the official Apple website or refer to the user manual that came with your device. These resources will provide you with a comprehensive list of iPhone models that are compatible with this feature.
Updating Your iOS
If you’re unsure about your iOS version, you can check it by going to Settings > General > About and scrolling down to see the version number. This will give you a clear indication of whether your iOS is up to date or not.
If you need to update your iOS, simply go to Settings > General > Software Update. Here, you will be able to check if an update is available for your device.
It’s highly recommended to have the latest iOS version installed on your iPhone as it not only ensures compatibility with video screenshot capabilities but also provides you with the latest security patches and features.
When updating your iOS, make sure you have a stable internet connection and sufficient battery life on your iPhone. It’s best to connect your device to a Wi-Fi network to avoid using up your mobile data and to ensure a smooth and uninterrupted update process.
Once you’ve confirmed that an update is available, follow the on-screen instructions to download and install it. The update process may take some time, depending on the size of the update and your internet speed.
During the update, it’s important not to interrupt the process or turn off your iPhone. Doing so can result in software corruption or incomplete installation, which may lead to various issues with your device.
Once the update is complete, your iPhone will restart, and you’ll be able to enjoy the latest features and improvements, including video screenshot capabilities.
Step-by-Step Guide to Making a Video Screenshot
Now that your iPhone is ready, let’s dive into the step-by-step process of making a video screenshot.
Accessing the Control Center
To start, open the video that you want to capture a screenshot from in your preferred video player app or streaming service. Once the video is playing, swipe down from the top-right corner of the screen to access the Control Center on your iPhone.
Activating Screen Recording
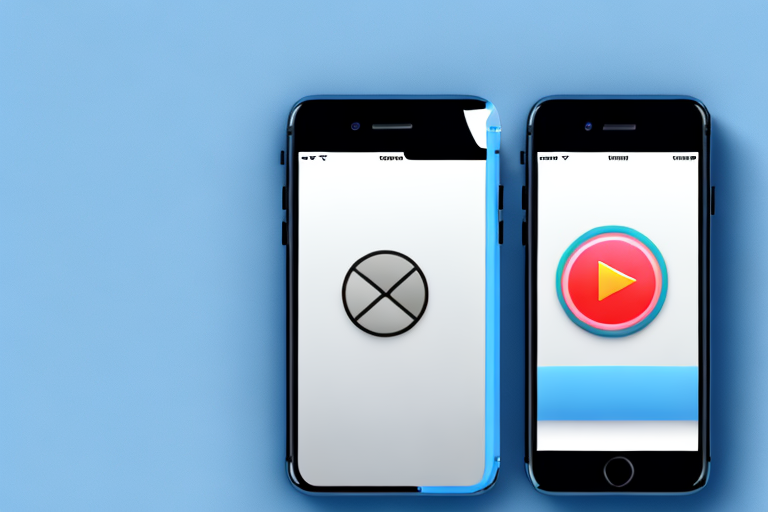
Within the Control Center, you will see various icons and widgets. Look for the “Screen Recording” icon, which resembles a solid white circle within a larger circle. If you don’t see the icon, you may need to customize your Control Center to add it. To do this, go to Settings > Control Center > Customize Controls, and then tap the plus icon next to “Screen Recording” to add it to your Control Center.
Once you locate the “Screen Recording” icon, simply tap on it to activate the screen recording feature. You will see a three-second countdown, indicating that the screen recording has started.
Capturing the Video Screenshot
With screen recording activated, navigate to the video you want to screenshot and play the desired section. Pause the video at the specific frame you want to capture as a screenshot.
Once the video is paused at the desired frame, tap the red recording status bar at the top of your screen. A menu will appear with options related to the screen recording. Tap “Stop” to end the screen recording and save the video screenshot to your Photos app.
Stopping the Screen Recording
To stop the screen recording manually, you can either return to the Control Center and tap the red recording status bar, or you can swipe up from the bottom of the screen to access the Control Center and tap the “Screen Recording” icon again. Both methods will stop the screen recording and save it to your Photos app.
Managing Your Video Screenshots
Now that you know how to capture video screenshots on your iPhone, it’s essential to know how to locate, view, and edit them.
Locating Your Video Screenshots
Once you’ve captured a video screenshot, it will be saved to your Photos app automatically. To access your video screenshots, simply open the Photos app on your iPhone and navigate to the “Screenshots” album. You will find all your video screenshots neatly organized in this album.
Viewing and Editing Your Video Screenshots
Within the “Screenshots” album, you can tap on any video screenshot to view it in full screen. From there, you can zoom in or out, crop the image, adjust brightness or contrast, and even apply filters to enhance the screenshot.
Sharing Your Video Screenshots
After you’ve captured and edited your video screenshot, you can easily share it with others. Tap the “Share” icon while viewing the screenshot, and you will see a range of options, including sharing it via iMessage, email, social media, or saving it to your Files app.
As you can see, making video screenshots on your iPhone is a simple process that can greatly enhance your ability to capture and share specific frames from videos. Whether you want to capture a memorable moment or refer back to a particular scene, video screenshots offer a convenient and powerful tool for iPhone users.
So, the next time you come across a video worth capturing, follow the step-by-step guide we’ve provided and start making video screenshots like a pro!
Enhance Your Screenshots with GIFCaster
Ready to take your iPhone screenshots to the next level? With GIFCaster, not only can you capture those perfect moments from your videos, but you can also add a touch of fun and creativity by incorporating GIFs. Transform your standard screenshots into engaging, animated conversations and express yourself in a whole new way. Make every message a celebration and stand out from the crowd. Use the GIFCaster App today and start sharing your moments with a twist!