Do you ever find yourself wanting to capture something on your Galaxy S7 screen? Whether it’s a memorable moment from a game or an important message, taking a screenshot can be incredibly useful. In this article, we will walk you through the process of making a screenshot on your Galaxy S7, step by step. So grab your phone and let’s get started!
Understanding the Basics of Galaxy S7
Before we delve into the details of capturing screenshots, let’s familiarize ourselves with some key features of the Galaxy S7. This way, you’ll have a better understanding of how your device works and how to navigate its interface.
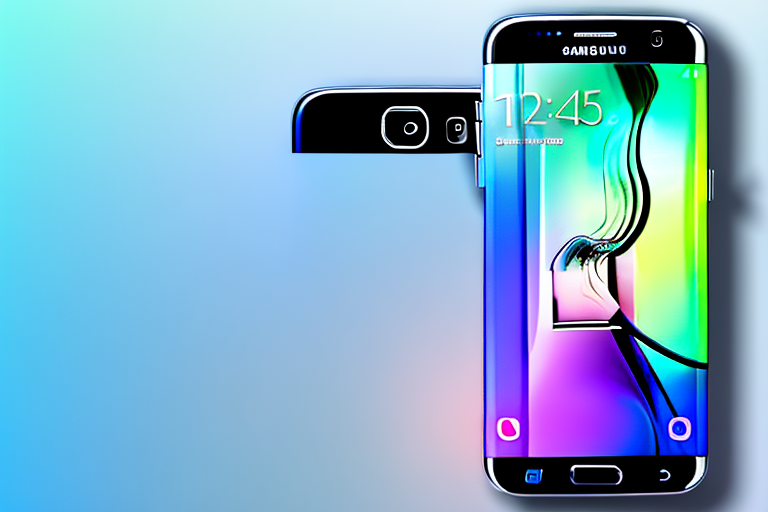
The Galaxy S7 is a flagship smartphone released by Samsung in 2016. It is part of the popular Galaxy S series and has gained a reputation for its impressive performance and sleek design. With its powerful hardware and user-friendly software, the Galaxy S7 offers a premium smartphone experience.
Key Features of Galaxy S7
The Galaxy S7 is packed with impressive features that make it one of the top Android smartphones on the market. Its high-resolution display, powered by Super AMOLED technology, delivers vibrant colors and sharp details, making it a joy to use for multimedia consumption and gaming.
Under the hood, the Galaxy S7 is equipped with a powerful processor, either the Qualcomm Snapdragon 820 or Samsung’s own Exynos 8890, depending on the region. This ensures smooth multitasking and fast app loading times, allowing you to seamlessly switch between different applications.
One of the standout features of the Galaxy S7 is its camera. With a 12-megapixel rear camera and a 5-megapixel front-facing camera, the device is capable of capturing stunning photos and videos. The camera also performs exceptionally well in low-light conditions, thanks to its large aperture and advanced image processing capabilities.
In addition to its impressive hardware, the Galaxy S7 also offers a range of software features that enhance the user experience. The device runs on Samsung’s TouchWiz user interface, which provides a clean and intuitive interface for navigating the phone’s various functions.
Navigating the Galaxy S7 Interface
Getting around the Galaxy S7 interface is a breeze once you know the basics. From the home screen to the app drawer, familiarizing yourself with the layout will help you navigate your device with ease.
The home screen is the main hub of the Galaxy S7, where you can access your favorite apps, widgets, and shortcuts. You can customize the home screen by adding or removing app icons, rearranging widgets, and changing the wallpaper to suit your personal preferences.
Swiping up from the bottom of the screen will open the app drawer, which houses all the apps installed on your device. From here, you can easily launch any app by tapping on its icon. You can also organize your apps into folders to keep your home screen clutter-free.
To access the notification panel, simply swipe down from the top of the screen. Here, you’ll find notifications from various apps, as well as quick settings toggles for Wi-Fi, Bluetooth, and other commonly used features. You can customize the quick settings panel to include the shortcuts you use most frequently.
Another useful feature of the Galaxy S7 is the Edge screen. This is a curved display that wraps around the sides of the device, providing quick access to your favorite apps, contacts, and other shortcuts. You can customize the Edge screen to display the information and tools that are most important to you.
Overall, the Galaxy S7 offers a user-friendly interface that is easy to navigate and customize. Whether you’re a tech-savvy user or new to smartphones, you’ll find that the Galaxy S7 provides a seamless and enjoyable user experience.
Preparing Your Galaxy S7 for Screenshots
Before you start taking screenshots, it’s important to make sure your Galaxy S7 is set up correctly. Checking your settings and ensuring you have enough storage space are two key steps in preparing your device.
When it comes to capturing screenshots on your Galaxy S7, there are a few things you need to keep in mind. In addition to the basic steps, there are some additional features and tips that can enhance your screenshot-taking experience.
Checking Your Settings
To take screenshots on your Galaxy S7, you’ll need to ensure that the necessary settings are enabled. Head to the Settings menu and locate the “Advanced Features” section. From there, you can enable the “Palm swipe to capture” option, which allows you to take screenshots by swiping your hand across the screen.
However, there’s more to it than just enabling the palm swipe feature. The Galaxy S7 also offers other screenshot options, such as capturing a scrolling screenshot or capturing a screenshot with a smart capture. These additional features can be found within the settings menu, allowing you to customize your screenshot experience to suit your needs.
Ensuring Sufficient Storage
Before you start capturing screenshots, double-check that you have enough storage space on your Galaxy S7. Screenshots can quickly accumulate and eat up storage, so it’s important to regularly clear out unnecessary files or transfer them to a cloud storage service.
But what if you want to keep all your screenshots without worrying about running out of storage? The Galaxy S7 offers expandable storage options, allowing you to insert a microSD card and increase your device’s storage capacity. This means you can capture as many screenshots as you want without the fear of running out of space.
Furthermore, it’s worth mentioning that organizing your screenshots can also be beneficial. Creating folders or albums specifically for screenshots can help you locate and manage them more easily. This way, you can keep your screenshots organized and readily accessible whenever you need them.
Step-by-Step Guide to Taking a Screenshot
Now that your Galaxy S7 is ready for action, let’s dive into the step-by-step process of taking a screenshot. There are two main methods you can use: the button method and the palm swipe method. We’ll walk you through both options.
Using the Button Method
The button method is straightforward and easy to remember. Simply locate the power button and volume down button on your Galaxy S7. Once you’ve found them, follow these steps:
- Open the screen or app that you want to capture.
- Simultaneously press and hold the power button and volume down button.
- You should see a quick animation or hear a sound, indicating that the screenshot has been captured.
- You can now access your screenshot from the notification panel or the Gallery app.
Using the Palm Swipe Method
If you prefer a more hands-free approach, the palm swipe method is perfect for you. Here’s how to use it:
- Ensure that the “Palm swipe to capture” option is enabled in your settings.
- Open the screen or app that you want to capture.
- Place the side of your hand horizontally on the edge of the screen.
- Swipe your hand across the screen, from left to right or right to left.
- A screenshot should be taken, and you can find it in the notification panel or the Gallery app.
Accessing and Managing Your Screenshots
Now that you’ve successfully captured a screenshot, you may be wondering how to access and manage your collection. Let’s dive into the process of locating your screenshots in the Gallery and exploring options for sharing and editing them.
Finding Your Screenshots in the Gallery
All your screenshots are conveniently stored in the Gallery app. To access them, follow these steps:
- Open the Gallery app on your Galaxy S7.
- Look for a dedicated folder named “Screenshots.”
- Tap on the folder to view all your captured screenshots.
Sharing and Editing Your Screenshots
Once you’ve located your desired screenshot, you can easily share it with others or make edits. Here’s how:
- Open the screenshot you wish to share or edit in the Gallery app.
- Look for the sharing or editing options at the bottom of the screen.
- Select your preferred option, such as sharing via social media or editing with a photo editing app.
- Follow the prompts or choose your desired edits.
- Once you’re satisfied, you can save or share the edited version of your screenshot.
Troubleshooting Common Screenshot Issues
While capturing screenshots on your Galaxy S7 is typically a smooth process, you may encounter some common issues along the way. Let’s address a couple of these problems and provide solutions.
What to Do When Screenshots Aren’t Saving
If you’ve taken a screenshot but can’t seem to find it in your Gallery, don’t panic. This issue can usually be resolved by restarting your device or clearing the cache of the Gallery app.
Resolving Other Common Screenshot Problems
If you encounter any other issues related to screenshots, such as poor quality or unresponsive gestures, try restarting your device, updating your software, or contacting customer support for further assistance.
Now that you know how to make a screenshot on your Galaxy S7, capturing and managing your favorite moments has never been easier. Whether it’s a funny meme, an inspiring quote, or a crucial piece of information, you can now save it with just a few simple taps or gestures. So go ahead, explore the possibilities, and start capturing those memorable moments on your Galaxy S7!
Enhance Your Screenshots with GIFCaster
Ready to take your Galaxy S7 screenshots to the next level? With GIFCaster, not only can you capture your screen, but you can also add a burst of fun and creativity by incorporating GIFs. Turn a simple work message into a celebration or add a touch of humor to your captures. Use the GIFCaster App now and start expressing yourself in a whole new way!