In today’s digital age, taking screenshots has become an essential skill for many laptop users. Whether you want to capture a funny meme, save important information, or troubleshoot an issue, knowing how to make a screenshot can be incredibly useful. If you’re using a laptop with Windows 10, this guide will walk you through the process step by step. So, let’s dive in and learn how to capture those screen moments!
Understanding the Basics of Screenshots
Before we get into the technical details, let’s first understand what a screenshot actually is. In simple terms, a screenshot is an image of whatever is displayed on your laptop screen at a particular moment. It can be a still image of your desktop, an open application, a webpage, or anything else you can see on your screen.
Now, let’s dive a little deeper into the concept of screenshots. Have you ever wondered how it is possible to freeze a moment in time on your laptop screen? Well, let me explain. When you take a screenshot, your computer captures the current state of your screen and saves it as an image file. This means that you can refer back to that image later on, even if the content on your screen has changed.
What is a Screenshot?
A screenshot is like freezing a moment in time on your laptop screen. It allows you to capture and save a visual representation of what’s happening on your screen without needing to take a photo with another device.
Let’s take a moment to appreciate the convenience of screenshots. In the past, if you wanted to capture something on your screen, you would have to use a camera to physically take a photo of it. This process was not only time-consuming but also resulted in lower quality images. With screenshots, you can capture the exact content on your screen with just a few clicks or keystrokes.
Importance of Screenshots
Screenshots have countless uses in both personal and professional settings. They can help you record important information, troubleshoot technical issues, share interesting content, provide visual evidence, or simply capture memories. Knowing how to take a screenshot is an essential skill that can make your life easier in many ways.
Let’s explore some practical examples of how screenshots can be beneficial. Imagine you are working on a project and come across a valuable piece of information on a website. Instead of copying and pasting the text or writing it down, you can simply take a screenshot and refer back to it whenever needed. Screenshots also come in handy when you encounter technical problems and need to provide visual evidence to support your explanation.
Furthermore, screenshots can be a great tool for sharing interesting content with others. Whether it’s a funny meme, a beautiful image, or an inspiring quote, capturing it with a screenshot allows you to easily share it with your friends, family, or colleagues.
Lastly, screenshots can help you preserve memories. Whether it’s a funny conversation with a loved one, a milestone achieved in a game, or a beautiful sunset captured on a video call, screenshots allow you to capture and cherish these moments forever.
As you can see, screenshots are not just a simple image of your screen; they are a powerful tool that can enhance your productivity, communication, and overall digital experience. So, next time you need to capture something on your screen, remember the versatility and importance of screenshots.
Preparing Your Laptop for a Screenshot
Before you can start taking screenshots on your Windows 10 laptop, there are a few things you need to check and ensure.
Checking Your Windows Version
Windows 10 offers several methods for taking screenshots, but they can vary slightly depending on your specific version. To check your Windows version, follow these steps:
- Click on the Start button located at the bottom left corner of your screen.
- Click on the gear-shaped icon to open the Settings menu.
- In the Settings menu, click on “System”.
- Scroll down and click on “About”.
- Under the “Windows specifications” section, look for the “Edition” and “Version” information.
Ensuring Your Screen Displays What You Want to Capture
Before taking a screenshot, make sure that your laptop screen is displaying the content you want to capture. Whether it’s a specific application, a webpage, or your desktop, arrange and open the necessary elements before proceeding with the screenshot.
Different Methods to Take a Screenshot in Windows 10
Now that your laptop is ready, let’s explore the various methods available for taking screenshots in Windows 10.
Using the Print Screen Key
The Print Screen key, commonly abbreviated as “PrtScn” or “PrntScrn”, is a single key on your laptop keyboard that can capture your entire screen. To take a screenshot using this method, follow these steps:
- Locate the “Print Screen” key on your laptop keyboard. It’s usually located in the top row, often near the function keys.
- Once your desired screen is displayed, press the “Print Screen” key.
- The screenshot will be saved to your clipboard.
- Paste the screenshot into an image editing program, a document, or an email using the “Ctrl + V” keyboard shortcut.
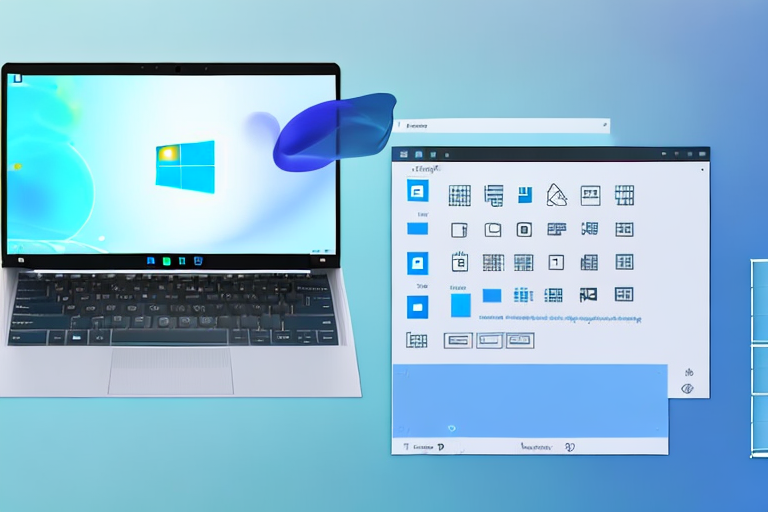
Using the Snipping Tool
If you need more control over your screenshot selection, the Snipping Tool is a great option. It allows you to capture a specific portion of your screen. To use the Snipping Tool, follow these steps:
- Open the Start menu, type “Snipping Tool” in the search bar, and click on the app when it appears.
- Click on “New” in the Snipping Tool window.
- Your screen will fade, and your cursor will become a crosshair.
- Click and drag your cursor to select the area you want to capture.
- Release the mouse button to capture the screenshot.
- The screenshot will open in the Snipping Tool window for further editing or saving.
Using the Snip & Sketch Tool
The Snip & Sketch tool is an enhanced version of the Snipping Tool with additional features. It allows you to capture any part of your screen and annotate or edit screenshots directly. To use the Snip & Sketch Tool, follow these steps:
- Open the Start menu, type “Snip & Sketch” in the search bar, and click on the app when it appears.
- Click on “New” in the Snip & Sketch window or use the keyboard shortcut “Ctrl + N”.
- Your screen will gray out, and your cursor will turn into a crosshair.
- Click and drag your cursor to select the area you want to capture.
- Release the mouse button to capture the screenshot.
- The screenshot will open in the Snip & Sketch editor, where you can annotate, highlight, or crop the image as needed.
- Click on the “Save” icon to save the screenshot to your desired location.
Editing and Saving Your Screenshot
Once you’ve captured a screenshot, you might want to make some edits or save it in a specific format. Here’s how you can do that:
How to Open Your Screenshot for Editing
To open a screenshot for editing, follow these steps:
- Find the location where your screenshot is saved.
- Double-click on the screenshot file to open it in an image editing program, such as Paint or Adobe Photoshop.
Basic Editing Tools for Screenshots
Most image editing programs offer a range of tools to enhance and modify your screenshots. Common editing options include cropping, resizing, rotating, adding text, drawing shapes, and adjusting brightness or contrast. Familiarize yourself with the available tools to make necessary adjustments to your screenshots.
Saving Your Screenshot in Different Formats
When saving your edited screenshot, you have the option to choose from various image formats, such as JPEG, PNG, BMP, or GIF. Consider the purpose and requirements of your screenshot to determine the most appropriate format. Keep in mind that some formats, like JPEG, compress the image and may result in a loss of quality compared to formats like PNG, which preserve image integrity.
Troubleshooting Common Screenshot Issues
Even though taking screenshots is relatively straightforward, you might encounter some common issues along the way. Here are a few troubleshooting tips to help you overcome them:
What to Do If the Print Screen Key Isn’t Working
If pressing the Print Screen key doesn’t seem to capture the screen, try using the “Alt + Print Screen” combination instead. This will capture only the currently active window. If that doesn’t work either, make sure that the “Fn” (Function) key on your keyboard is not locked or disabled.
How to Fix a Blurry Screenshot
If your screenshots look blurry or pixelated, it might be because of the screen resolution settings. Make sure your laptop display is set to its native resolution for optimal screenshot quality. You can adjust the screen resolution by right-clicking on your desktop, selecting “Display settings”, and adjusting the resolution under the “Resolution” dropdown menu.
Dealing with Screenshots That Are Too Dark or Too Light
If your screenshots appear too dark or too light, it could be due to incorrect display brightness settings. Adjust the brightness level of your laptop screen to ensure proper visibility and screenshot quality. Most laptops have dedicated function keys or settings in the system tray to control brightness.
With these troubleshooting tips, you should be well-equipped to overcome any screenshot-related issues that may come your way. Remember, practice makes perfect, so don’t hesitate to experiment and explore the different methods and options available in Windows 10.
Now that you’ve learned how to make a screenshot on your Windows 10 laptop, you can capture and share important information, funny moments, or memorable experiences with ease. So go ahead, unleash your creativity, and make the most out of the powerful screenshot capabilities of your laptop!
Enhance Your Screenshots with GIFCaster
Ready to take your screenshot game to the next level? With GIFCaster, not only can you capture your screen, but you can also add a touch of personality and fun by incorporating GIFs into your screenshots. Turn a standard work message into a delightful celebration, or make your social shares stand out with animated flair. Don’t settle for the ordinary; use the GIFCaster App today and start creating engaging, creative, and lively images that express who you are!