Taking screenshots on a PC can be a valuable and useful tool. Whether you want to capture an image from your web browser, document a technical issue, or simply save an image for later reference, knowing how to make a screenshot is essential. In this article, we will explore the different methods, tools, and techniques for taking, editing, and sharing screenshots on a PC.
Understanding Screenshots and Their Uses
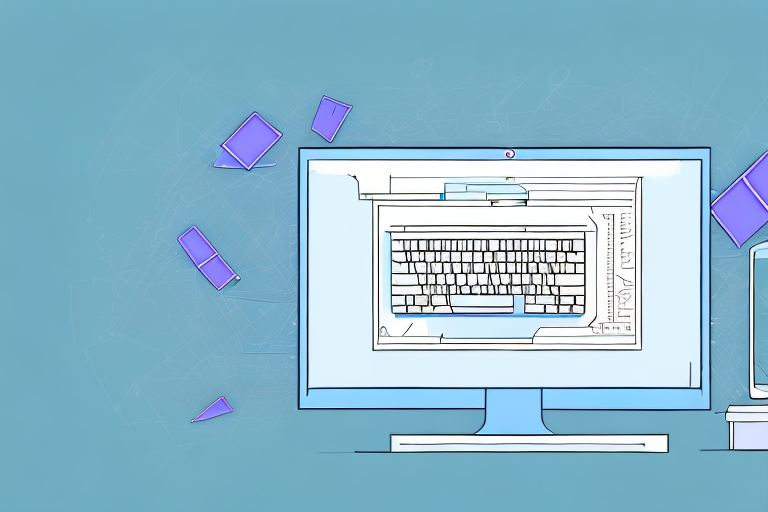
A screenshot is a digital image of the current screen on your PC. It captures whatever is visible on your monitor, including open windows, applications, and even the desktop itself. Screenshots are versatile and widely used for various purposes.
What is a Screenshot?
A screenshot is a visual representation of the content displayed on your computer screen. It enables you to capture static images of web pages, documents, images, or any other content visible on your screen.
When you take a screenshot, you essentially freeze a moment in time, preserving the exact visual information that was present on your screen at that specific moment. This can be incredibly useful in a variety of situations, whether you’re trying to document an error message, save a receipt for an online purchase, or create a visual guide for a tutorial.
Why are Screenshots Useful?
Screenshots have numerous applications. They are commonly used to capture error messages, software bugs, or any issue that needs to be reported or shared for troubleshooting purposes. When encountering a technical problem, taking a screenshot can provide valuable visual evidence that can help support your explanation and assist others in understanding the issue at hand.
Additionally, screenshots are incredibly helpful in user guides, tutorials, and presentations, where visual aids are necessary to provide step-by-step instructions. By including screenshots alongside written instructions, you can enhance the clarity and comprehension of your content, making it easier for readers or viewers to follow along and replicate the desired actions.
Moreover, screenshots can be used for personal documentation or reference, such as capturing an important email, saving an online receipt or transaction details, or capturing a memorable moment displayed on your screen. Whether you want to keep a record of an important conversation, store proof of a purchase, or simply preserve a funny or touching moment, screenshots allow you to capture and preserve these digital memories.
Furthermore, screenshots can be a valuable tool in the field of design and creativity. Designers often use screenshots to capture inspiration from websites, applications, or other digital media. By saving screenshots of visually appealing designs or interesting color schemes, designers can create a library of references that can inspire their own work and spark new ideas.
Lastly, screenshots can also be used for educational purposes. Teachers and students alike can benefit from using screenshots to capture and share relevant information, research findings, or visual examples. By incorporating screenshots into presentations or educational materials, educators can enhance the learning experience and make complex concepts more accessible.
Preparing Your PC for Screenshots
Before diving into the different methods of taking screenshots, it’s essential to ensure that your PC is ready for this task. Here are a few things you should check:
When it comes to capturing screenshots, the first thing you need to consider is your PC’s operating system. Depending on whether you’re using Windows, Mac, or Linux, the method of taking screenshots may vary. Each operating system has its own set of built-in methods or shortcuts for capturing screenshots. Familiarize yourself with the specific screenshot options available for your OS to make the most out of your screenshot-taking experience.
Aside from the operating system, having the necessary tools for taking screenshots can greatly enhance your screenshot-taking capabilities. While most PCs come with built-in screenshot tools, such as the Snipping Tool on Windows, it’s always beneficial to have additional software or apps specifically designed for taking screenshots. These third-party options often offer advanced features and customization that can make capturing screenshots a breeze. Take the time to investigate the various software options available and choose the one that best suits your needs.
One popular third-party software for taking screenshots is Snagit. Snagit not only allows you to capture screenshots but also offers a wide range of editing tools to enhance and annotate your screenshots. With Snagit, you can easily capture screenshots of specific windows, regions, or even entire webpages. It also provides options for capturing scrolling screenshots, making it ideal for capturing long articles or webpages that don’t fit in a single screen.
If you’re looking for a more lightweight option, Greenshot is another great choice. It’s a free and open-source screenshot tool that offers a simple and intuitive interface. Greenshot allows you to capture screenshots of selected regions, windows, or even the entire screen. It also provides basic editing features like adding annotations, highlights, and arrows to your screenshots.
For Mac users, the built-in screenshot tool, Grab, offers a variety of screenshot options. With Grab, you can capture screenshots of the entire screen, a specific window, or a selected portion of the screen. It also provides a timer option, allowing you to set a delay before capturing the screenshot. Additionally, Grab offers basic editing tools to crop, rotate, and annotate your screenshots.
Linux users have several options for taking screenshots, depending on the desktop environment they are using. GNOME, for example, provides a built-in screenshot tool called GNOME Screenshot. This tool allows you to capture screenshots of the entire screen, a specific window, or a selected area. It also offers options for delaying the screenshot capture and including the mouse pointer in the screenshot. Another popular option for Linux users is Shutter, a feature-rich screenshot tool that provides advanced editing capabilities and the ability to capture screenshots of specific menus or tooltips.
Different Methods of Taking Screenshots on a PC
There are various methods you can use to take screenshots on a PC, depending on your specific requirements. Here are some of the most common methods:
Using Keyboard Shortcuts for Screenshots
Keyboard shortcuts provide quick and convenient ways to capture screenshots. For example, on Windows, pressing the “Print Screen” (PrtScn) button captures the entire screen, while pressing “Alt + Print Screen” captures the active window only. These shortcuts are handy when you want to capture a moment quickly without any additional steps. However, it’s important to note that the captured screenshot is saved to your clipboard, and you need to paste it into an image editing software or document to save it as a file.
Exploring the keyboard shortcuts available for your operating system can significantly improve your productivity when it comes to taking screenshots. Some operating systems also allow you to customize these shortcuts to fit your preferences.
Using the Snipping Tool for Screenshots
The Snipping Tool is a built-in utility on Windows PCs that allows precise selection and capturing of specific areas on your screen. It provides options for capturing a rectangular snip, a freeform snip, a window snip, or a full-screen snip. This tool is particularly useful when you want to capture a specific part of a webpage, an error message, or any other content that requires selective capturing.
With the Snipping Tool, you can easily annotate the captured screenshot by adding text, highlighting important areas, or drawing shapes. This powerful tool enhances your screenshot capabilities by providing more control and flexibility in capturing and editing your screenshots.
Using Third-Party Software for Screenshots
If the built-in tools on your PC lack the functionalities you need, consider exploring third-party software options for taking screenshots. There are various software applications available that offer advanced editing features, annotation tools, and even screen recording capabilities.
These third-party software options often provide more extensive customization options, allowing you to capture screenshots in various formats, adjust image quality, and even schedule automatic screenshots. Some popular third-party screenshot tools include Greenshot, Snagit, and Lightshot, each offering unique features to cater to different user preferences.
When choosing third-party software, it’s essential to consider your specific requirements and the features offered by the software. Some tools may focus more on editing and annotation, while others prioritize simplicity and ease of use. Exploring different options can help you find the perfect screenshot tool that suits your needs.
Editing and Saving Your Screenshots
After capturing a screenshot, you might want to make some adjustments or add annotations before saving it for future use. Here are some basic editing techniques to enhance your screenshots:
Basic Editing Techniques for Screenshots
Basic editing can include cropping unnecessary parts of the screenshot, highlighting important areas, adding text annotations, or blurring sensitive information. Use image editing software or the built-in editing features of your screenshot tool to make these adjustments.
Best Formats for Saving Screenshots
When saving your screenshots, it’s important to choose the appropriate file format. For general use, such as sharing or uploading to web platforms, JPEG or PNG formats are recommended. However, if you require higher image quality with lossless compression, consider using the BMP or TIFF formats.
Sharing and Using Your Screenshots
Once you have captured, edited, and saved your screenshots, it’s time to share or make use of them. Here are some ways to share and creatively utilize your screenshots:
How to Share Screenshots
Sharing screenshots can be done through various methods, such as attaching them to emails, uploading them to cloud storage or social media platforms, or simply copying and pasting them into chat applications. Choose the sharing method that best suits your needs and audience.
Creative Uses for Screenshots
Screenshots are not limited to mere documentation or error reporting. You can get creative and use them in various ways, such as creating visual presentations or slideshows, designing graphics for websites or social media posts, or even printing them as reference materials.
In conclusion, knowing how to make a screenshot on a PC is a valuable skill that can assist you in various situations. By understanding the different methods, tools, and techniques available, you can capture, edit, and share screenshots effectively. So, start exploring the screenshot capabilities of your PC today and unlock endless possibilities for visual communication and documentation.
Enhance Your Screenshots with GIFCaster
Ready to take your screenshot game to the next level? With GIFCaster, not only can you capture your screen, but you can also add a touch of personality and fun by incorporating GIFs into your images. Make your screenshots stand out, express your creativity, and turn everyday screen captures into engaging, animated conversations. Whether it’s for work or play, a GIFCaster screenshot can transform a mundane message into an exciting celebration. Don’t wait to liven up your digital communication – use the GIFCaster App today and start sharing screenshots like never before!