In today’s digital age, knowing how to take a screenshot has become an essential skill. Whether you want to capture a funny online meme, save an important image, or share your screen with others, knowing how to make a screenshot on your Chromebook can come in handy. In this step-by-step guide, we will explore the basics of a Chromebook, understand its key features, navigate the interface, and delve into the process of taking, editing, and saving screenshots. Additionally, we will troubleshoot common screenshot issues and provide tips for better screenshot quality. So, let’s get started!
Understanding the Basics of a Chromebook
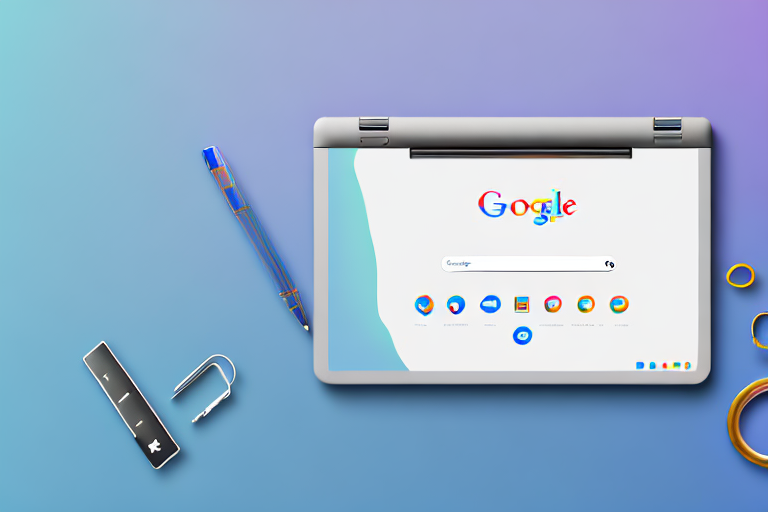
Before we dive into the intricacies of taking screenshots on Chromebook, it is important to familiarize ourselves with the basics. Chromebooks are lightweight and affordable laptops that run on Google’s Chrome operating system (OS). Unlike traditional laptops, Chromebooks primarily operate using web applications and rely heavily on cloud storage for data. This streamlined approach makes Chromebooks an attractive and convenient option for those seeking simplicity and speed.
Chromebooks have gained popularity in recent years due to their unique features and user-friendly interface. Let’s take a closer look at what sets Chromebooks apart from other laptops.
Key Features of a Chromebook
Chromebooks boast several features that set them apart from other laptops. First and foremost, Chromebooks are known for their quick boot-up time and fast performance. You don’t have to wait for ages for your Chromebook to start up; it’s ready to go in seconds. This is particularly useful for individuals who are always on the move and need instant access to their files and applications.
Another notable feature of Chromebooks is their built-in security measures. Chromebooks come with built-in antivirus protection that keeps your device safe from malware and other online threats. Additionally, Chromebooks receive automatic updates, ensuring that you always have the latest security patches and features without any hassle.
One of the biggest advantages of using a Chromebook is its seamless integration with Google services. Whether you’re a student, professional, or casual user, you’re likely to be familiar with Google’s suite of applications. Chromebooks offer easy access to Google Drive, Google Docs, and Gmail, allowing you to work and collaborate effortlessly. With cloud storage, you can access your files from anywhere, making it ideal for those who are constantly on the go.
Chromebooks are also known for their long battery life. With a single charge, you can use your Chromebook for hours without worrying about running out of power. This makes Chromebooks a popular choice for travelers and students who need a reliable device that can keep up with their busy schedules.
Navigating the Chromebook Interface
When using a Chromebook, it is important to familiarize yourself with the user interface to maximize efficiency. The Chromebook interface consists of several key components, including the taskbar, launcher, and app shelf.
The taskbar, located at the bottom of the screen, displays the time, Wi-Fi status, battery level, and system notifications. This allows you to easily keep track of important information without having to navigate through multiple menus.
The launcher, found in the bottom left corner of the screen, is your gateway to accessing frequently used applications and performing quick searches. Simply click on the launcher icon and a search bar will appear, allowing you to search for apps, files, and even websites. This feature saves you time and makes it easy to find what you need.
The app shelf, located at the bottom of the screen, contains shortcuts to your installed applications for easy access. You can customize the app shelf by adding or removing shortcuts based on your preferences. This allows you to create a personalized workspace that suits your needs.
Additionally, Chromebooks support multitasking with multiple windows and virtual desktops. You can easily switch between different applications and organize your workspaces to stay productive. This feature is particularly useful for individuals who need to work on multiple projects simultaneously.
Familiarizing yourself with these elements of the Chromebook interface will enhance your overall Chromebook experience. Whether you’re a first-time user or a seasoned Chromebook enthusiast, understanding the interface will help you navigate your device with ease.
Preparing Your Chromebook for Screenshots
Before we dive into the process of taking a screenshot, it is important to ensure that your Chromebook is properly set up.
Checking Your Chromebook’s Settings
First, let’s make sure that your Chromebook’s settings are configured correctly for taking screenshots. To do this, click on the clock located in the bottom right corner of the screen to open the system tray. Click on the gear icon to open the Settings menu. From there, navigate to the “Keyboard” section and ensure that the “Show Chromebook keys” option is enabled. This will allow you to access the dedicated screenshot keys on your Chromebook’s keyboard.
Necessary Tools for Taking Screenshots
Now that your settings are in order, you’re ready to explore the necessary tools for taking screenshots on a Chromebook. Chromebooks come equipped with dedicated screenshot keys, making the process quick and straightforward. To capture your screen, simply locate the dedicated screenshot keys on your Chromebook’s keyboard. These keys usually resemble a square or rectangle and are found in the top row of function keys. Familiarize yourself with these keys, as they will be your go-to tools for capturing screenshots on your Chromebook.
Step-by-Step Guide to Taking a Screenshot
Now that you have set up your Chromebook and familiarized yourself with its features, it’s time to dive into the process of taking a screenshot. In this section, we will explore two methods: taking a full-screen screenshot and capturing a partial screenshot.
Taking a Full-Screen Screenshot
To capture your entire screen, simply press the “Ctrl” and “Show Windows” keys simultaneously. The “Show Windows” key is usually located in the top row of function keys and resembles a rectangle or square. Once pressed, your Chromebook will capture the entire screen and save it as an image.
Capturing a Partial Screenshot
If you only want to capture a specific portion of your screen, Chromebooks offer a convenient way to do so. Press the “Ctrl”, “Shift”, and “Show Windows” keys simultaneously. Your cursor will transform into a crosshair. Click and drag your cursor to select the desired area for your screenshot. Once you release the mouse button, your Chromebook will capture the selected area and save it as an image.
Editing and Saving Your Screenshot
After capturing a screenshot, you may find it necessary to make edits or annotations before saving and sharing the image. Chromebooks offer built-in editing tools that allow you to enhance your screenshot quickly and easily.
Using Built-in Editing Tools
To edit your screenshot, locate the file in your “Downloads” folder or open it directly from the notification that appears after capturing the screenshot. Once you have opened the image, you can use the built-in editing tools to crop, annotate, and make adjustments as needed. These tools offer a range of options, allowing you to highlight important information, add text, or blur sensitive content. Experiment with these editing tools to make your screenshot visually appealing and informative.
Saving and Organizing Your Screenshots
After editing your screenshot, it’s time to save and organize your images for easy retrieval. When saving your screenshot, you can choose a destination folder on your Chromebook or save it directly to Google Drive. Create a logical folder structure to keep your screenshots organized and easily accessible whenever you need them. Consider creating folders based on categories, projects, or dates to streamline your screenshot organization.
Troubleshooting Common Screenshot Issues
As with any digital process, taking screenshots on Chromebook may encounter occasional hiccups or errors. Let’s explore some common issues you may encounter and how to troubleshoot them.
Resolving Screenshot Errors
If your Chromebook fails to capture a screenshot or displays an error message, there are a few troubleshooting steps you can try. First, ensure that your Chromebook’s operating system is up to date. To check for updates, click on the clock in the bottom right corner of the screen, select the gear icon, and navigate to the “About Chrome OS” section. Click on “Check for updates” and follow any prompts if an update is available. Additionally, restart your Chromebook to resolve any temporary glitches that may be affecting the screenshot functionality.
Tips for Better Screenshot Quality
To ensure the best quality screenshots, consider the following tips:
- Use natural lighting or well-lit environments to avoid blurry or dark screenshots.
- Close unnecessary applications or browser tabs to declutter your screen and focus on the desired content.
- Experiment with different screenshot methods, such as using keyboard shortcuts or the on-screen menu, to find the most efficient technique for your workflow.
- Utilize editing tools to highlight important information or obscure confidential data before sharing your screenshots.
- Regularly clean your Chromebook’s screen to prevent smudges or dust from affecting the screenshot quality.
Now that you have a comprehensive understanding of how to make a screenshot on Chromebook, it’s time to put your newfound knowledge into practice. By following this step-by-step guide, you’ll be able to capture, edit, and save screenshots with ease. Remember to explore the various features and tools offered by Chromebooks to enhance your overall computing experience. Whether you’re a student, professional, or casual user, mastering the art of screenshotting on Chromebook will undoubtedly prove invaluable in the vast digital landscape.
Enhance Your Screenshots with GIFCaster
Ready to take your Chromebook screenshots to the next level? With GIFCaster, you can add a touch of personality and fun to your captures. Transform a standard work message into an engaging celebration by incorporating GIFs into your screenshots. GIFCaster is the perfect tool for creative self-expression and making your digital communication more lively. Don’t settle for ordinary images when you can create something extraordinary. Use the GIFCaster App today and start sharing screenshots that truly stand out!