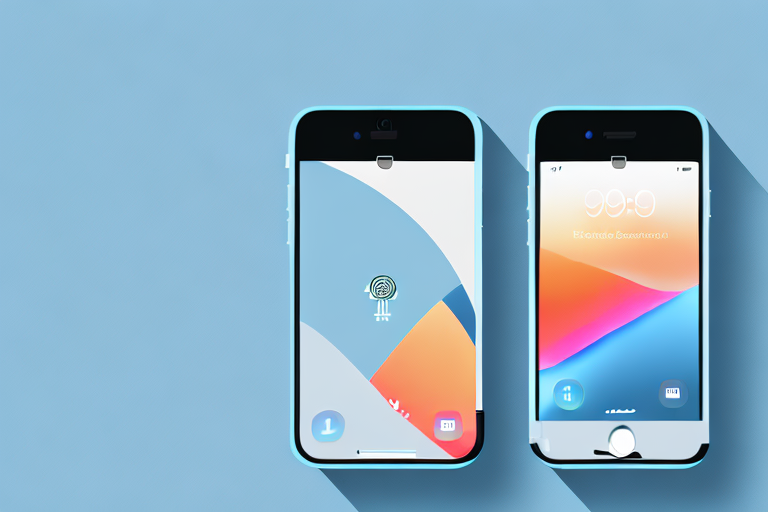
Taking screenshots on an iPhone is a useful feature that allows you to capture and save moments on your device’s screen. Whether you want to share an interesting conversation, save important information, or document an app issue, knowing how to take a screenshot can be quite handy. In this article, we will guide you through the process of making a screenshot on your iPhone, step by step. By the end, you’ll be capturing and sharing screenshots like a pro.
Understanding the Basics of Screenshots
Before we dive into the process of taking screenshots, let’s first understand what exactly a screenshot is. A screenshot is essentially an image of your iPhone’s display at a given moment. It captures everything that is currently visible on your screen, from apps to web pages to messages.
What is a Screenshot?
A screenshot, also known as a screen capture or screen grab, is a digital image that captures the content displayed on a device’s screen. In the case of an iPhone, a screenshot captures the information and visuals displayed on the device’s display and saves it as an image file.
Why Taking Screenshots is Useful
There are numerous reasons why you might want to take a screenshot on your iPhone. Some common uses include:
- Capturing important information like receipts, reference numbers, or contact details.
- Documenting app issues or errors to report to developers or support teams.
- Sharing funny or interesting conversations or social media posts with friends.
- Saving images or graphics from websites that don’t allow direct downloads.
Now that we understand the importance and versatility of screenshots, let’s move on to preparing your iPhone for capturing these valuable moments.
Preparing Your iPhone for Screenshots
Before you start taking screenshots on your iPhone, it’s important to ensure that your device is set up correctly. Here are a few steps to follow:
1. Make sure your iPhone is charged or connected to a power source. You don’t want your device to run out of battery while capturing an important screenshot.
2. Check your iPhone’s storage space. Screenshots can take up a significant amount of storage, especially if you take them frequently. Delete any unnecessary files or apps to free up space for your screenshots.
3. Familiarize yourself with the physical buttons on your iPhone. To take a screenshot, you’ll need to press a combination of buttons simultaneously. On most iPhone models, this involves pressing the power button and the home button at the same time.
4. Adjust your iPhone’s display settings if necessary. Depending on your preferences, you may want to enable or disable features like the screenshot preview thumbnail or the flash effect that occurs when taking a screenshot.
By following these steps, you’ll ensure that your iPhone is ready to capture screenshots whenever you need them. Now, let’s move on to the actual process of taking a screenshot.
Preparing Your iPhone for Screenshots
Before you start taking screenshots on your iPhone, there are a couple of things you should check and ensure:
Checking Your iPhone Model
Firstly, make sure you know which iPhone model you have. Different iPhone models have slightly different methods for taking screenshots, so it’s essential to be aware of the specific instructions that apply to your device.
Knowing your iPhone model can help you navigate through the vast array of features and functionalities that your device offers. Whether you have the latest iPhone model or an older version, understanding its unique specifications can enhance your overall user experience.
For example, newer iPhone models may have advanced camera capabilities, allowing you to capture high-quality screenshots with stunning clarity and detail. On the other hand, older iPhone models may have specific limitations or alternative methods for capturing screenshots, which can be helpful to know in advance.
By familiarizing yourself with your iPhone model, you can make the most out of its screenshot capabilities and tailor your approach accordingly.
Updating Your iOS Version
Keeping your iPhone’s iOS version up to date is crucial as new features and improvements are frequently introduced. To ensure you have the best and most stable screenshot experience, it’s recommended to update your iOS to the latest version.
Updating your iOS not only enhances the overall performance and security of your iPhone but also ensures that you have access to the latest screenshot functionalities and features. Apple regularly releases updates that address any bugs, improve system stability, and introduce exciting new features.
To check for updates, go to Settings > General > Software Update. Here, you can see if there are any available updates for your iPhone’s iOS version. If an update is available, you can choose to install it, which will bring your device up to date with the latest enhancements and improvements.
By keeping your iOS version updated, you can take advantage of any new screenshot-related features that Apple may have introduced. This ensures that you have a seamless and optimized experience when capturing screenshots on your iPhone.
Now that you’ve verified your iPhone model and updated your iOS version, let’s proceed to the step-by-step guide on how to capture screenshots on your iPhone. We’ll explore two different methods you can use.
Step-by-Step Guide to Taking Screenshots on iPhone
Using the Button Combination Method
The button combination method is the most common way to take screenshots on an iPhone. Here’s how you can do it:
- Open the app or screen that you want to capture.
- Position the screen exactly how you want it to appear in the screenshot.
- Simultaneously press and hold the side button (previously the sleep/wake button) on the right side of your iPhone, along with the volume up button on the left side.
- Release both buttons at the same time.
- A thumbnail of the screenshot will briefly appear in the bottom left corner of your screen. Tap on it to access screenshot editing options, or swipe it away to dismiss it.
- Your screenshot will be automatically saved to the Photos app in the “Screenshots” album.
Using the AssistiveTouch Method
If the button combination method doesn’t work for you, or if you prefer an alternative approach, you can use the AssistiveTouch feature on your iPhone. Follow these steps:
- Go to Settings > Accessibility > Touch > AssistiveTouch.
- Toggle on the AssistiveTouch switch.
- A floating button will appear on your screen. Tap it to open the AssistiveTouch menu.
- Tap “Device” in the menu, then “More”.
- Finally, tap “Screenshot”.
- This will capture a screenshot of your current screen, and the process is complete.
You now know two methods for capturing screenshots on your iPhone. Let’s move on to the next step – editing and sharing your screenshots.
Editing and Sharing Your Screenshots
How to Access Your Screenshots
Once you’ve taken a screenshot, accessing your captured images is simple. Navigate to the Photos app on your iPhone, and open the “Screenshots” album. All your screenshots will be stored there and ready for editing or sharing.
Basic Editing Tools for Screenshots
The Photos app on your iPhone offers essential editing tools that you can use to enhance your screenshots. After selecting a screenshot, tap the “Edit” option to access these tools. You can crop, rotate, adjust brightness and contrast, apply filters, and much more.
Sharing Screenshots via Different Platforms
Sharing screenshots is a breeze on an iPhone. Once you’ve edited your screenshot to your satisfaction, tap the share icon (a square with an arrow pointing out) to access various sharing options. You can send the screenshot via messaging apps, email, social media, or even save it to your iCloud Drive or other cloud storage services.
Now that you’ve become acquainted with editing and sharing your screenshots, let’s address troubleshooting common issues that you might encounter.
Troubleshooting Common Screenshot Issues
What to Do When Screenshots Aren’t Working
If you are facing difficulties in capturing screenshots on your iPhone, here are a few troubleshooting steps you can try:
- Restart your iPhone: Sometimes, a simple restart can resolve temporary glitches.
- Check button functionality: Ensure that the side button and volume up button on your iPhone are working correctly.
- Update iOS: As mentioned before, keeping your iOS up to date can fix many software-related issues.
- Clear storage space: If your iPhone’s storage is nearly full, it may affect screenshot functionality. Delete unnecessary files or apps to free up space.
How to Free Up Storage for More Screenshots
If you frequently find yourself running out of storage space for screenshots, here are a few tips to free up some space:
- Remove unused apps.
- Delete old photos and videos from your Photos app.
- Offload unused apps: Go to Settings > General > iPhone Storage and tap on “Offload Unused Apps” to automatically remove apps that you rarely use.
- Clear browser cache: Open the Safari app, go to Settings > Safari > Clear History and Website Data.
With these troubleshooting tips in mind, you should be able to overcome any screenshot issues you encounter on your iPhone.
Now that you’ve reached the end of this comprehensive guide, you should have a solid understanding of how to make a screenshot on your iPhone. Remember, screenshots are a versatile tool that can be immensely helpful in many situations. So go ahead and capture those important moments or bits of information on your iPhone whenever you need to. Happy screenshotting!
Enhance Your Screenshots with GIFCaster
Ready to take your iPhone screenshots to the next level? With GIFCaster, you can add a touch of personality and fun to your captures. Transform ordinary screenshots into engaging, creative expressions with the ease of adding GIFs. Whether it’s a celebratory moment or just adding flair to your daily communications, use the GIFCaster App to make every screenshot a memorable one. Start GIF-ing your shots today!