Taking a screenshot on your iPhone can be a quick and handy way to capture important information, memorable moments, or simply to share something interesting with others. In this article, we will walk you through the process of taking screenshots on different iPhone models, as well as editing and sharing them. We will also address common issues that may arise when attempting to take a screenshot, and how to troubleshoot them.
Understanding the Basics of Screenshots
Screenshots are digital images of what is currently displayed on your iPhone screen. They capture exactly what you see at a specific moment in time, including app interfaces, web pages, messages, or even the home screen.
What is a Screenshot?
A screenshot is a visual representation of the content on your iPhone screen. It allows you to freeze a moment and save it as an image that can be viewed at any time.
When you take a screenshot on your iPhone, the device captures the current state of your screen and saves it as an image file. This image file can then be accessed through your Photos app or shared with others via messaging apps, social media platforms, or email.
One of the great advantages of screenshots is that they provide a quick and easy way to capture and share information. Whether you want to show a friend a funny conversation, save a receipt for future reference, or document an error message for troubleshooting purposes, screenshots are a valuable tool.
Additionally, screenshots can be used for more creative purposes. For example, you can capture a beautiful moment in a game, save an inspiring quote from a website, or keep a visual reminder of something you want to remember later.
Importance of Screenshots
Screenshots serve various purposes, from documenting important information to troubleshooting issues. They can be used for saving receipts, recording error messages, sharing funny conversations, or even keeping a visual reminder of something you want to remember later.
One of the primary reasons why screenshots are important is their ability to capture and preserve information. By taking a screenshot, you can save a snapshot of a webpage, app interface, or any other visual content that you want to refer back to later. This can be particularly useful when conducting research, as you can easily capture relevant information without the need to copy and paste or write down everything manually.
Furthermore, screenshots can be a valuable tool for troubleshooting technical issues. If you encounter an error message or a glitch in an app, taking a screenshot can help you document the problem and provide visual evidence when seeking assistance from technical support or sharing the issue on forums. This visual representation can make it easier for others to understand the problem and offer potential solutions.
Moreover, screenshots can be a fun and creative way to express yourself and share experiences with others. Whether it’s capturing a hilarious text conversation, a high score in a game, or a stunning image from a website, screenshots allow you to share these moments with friends, family, or followers on social media platforms.
In conclusion, screenshots are a versatile tool that can be used for a variety of purposes. From capturing important information to troubleshooting technical issues or simply sharing memorable moments, screenshots have become an integral part of our digital lives.
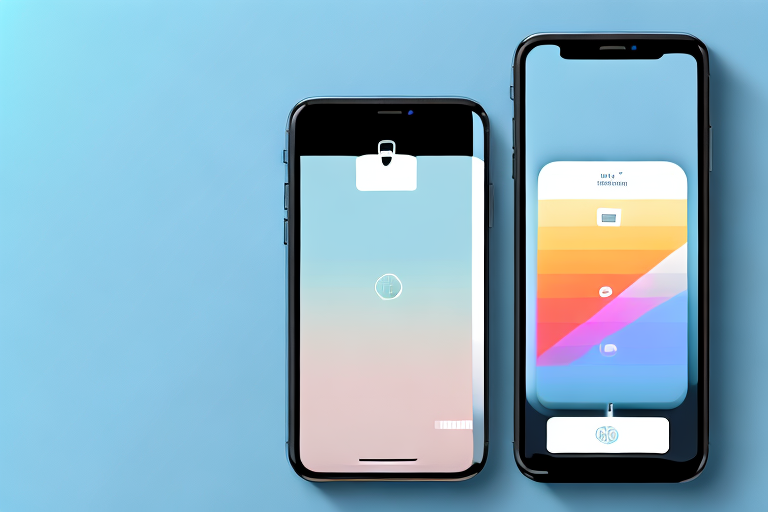
Different iPhone Models and Their Screenshot Features
Not all iPhone models have the same method of taking screenshots. To ensure that you can capture screenshots on your specific iPhone model, it’s important to understand the screenshot features available to you.
Screenshot Features in Older iPhone Models
If you own an older iPhone model such as the iPhone 7 or earlier, taking screenshots involves pressing the Home button and the Sleep/Wake button simultaneously. This action triggers the screenshot capture, and the image is saved to your Photos app.
Let’s dive deeper into the screenshot features available in older iPhone models. The iPhone 7, released in 2016, was a significant upgrade from its predecessors. It introduced a range of new features, including an improved camera and a faster processor. However, when it comes to taking screenshots, the process remains relatively unchanged.
When you want to capture a screenshot on an iPhone 7 or earlier, you need to locate the Home button, which is located at the bottom of the device. Simultaneously press and hold the Home button and the Sleep/Wake button, which is located on the right side of the device. By pressing these two buttons together, you trigger the screenshot capture, and a preview of the captured image will briefly appear on the screen. The screenshot is then automatically saved to your Photos app, where you can access it later.
It’s worth noting that the process of taking screenshots on older iPhone models is quite straightforward and intuitive. The physical Home button serves as a tactile indicator, making it easy to locate and press in conjunction with the Sleep/Wake button. This method has been widely adopted and used by millions of iPhone users over the years.
Screenshot Features in Latest iPhone Models
Newer iPhone models, like the iPhone X and later, no longer have a physical Home button. Instead, the screenshot process involves pressing the Volume Up button and the Sleep/Wake button simultaneously. The rest of the process is the same as with older models.
Let’s explore the screenshot features available in the latest iPhone models. The iPhone X, released in 2017, marked a significant design shift for Apple’s flagship smartphone. With the removal of the physical Home button, the screenshot process underwent a slight change.
To capture a screenshot on an iPhone X or later, you need to locate the Volume Up button, which is located on the left side of the device, just above the Volume Down button. Simultaneously press and hold the Volume Up button and the Sleep/Wake button, which is located on the right side of the device. By pressing these two buttons together, you trigger the screenshot capture, and a preview of the captured image will briefly appear on the screen. The screenshot is then automatically saved to your Photos app, just like in older models.
The removal of the physical Home button in newer iPhone models brought about a more streamlined and immersive user experience. The absence of the Home button allowed for a larger display and a sleeker design. However, it did require a slight adjustment in the screenshot process. Apple made this change to accommodate the edge-to-edge display and Face ID technology, which replaced the Touch ID fingerprint sensor.
It’s important to note that the screenshot features in the latest iPhone models are designed to be intuitive and user-friendly. The placement of the Volume Up button and the Sleep/Wake button allows for easy access and simultaneous pressing, ensuring a seamless screenshot capture experience.
Step-by-Step Guide to Taking a Screenshot on iPhone
Now that you know the screenshot features of your iPhone model, let’s dive into the step-by-step process of taking a screenshot.
How to Take a Screenshot on iPhone with Buttons
1. Navigate to the screen you want to capture.
2. Press the designated buttons simultaneously (Home button + Sleep/Wake button or Volume Up button + Sleep/Wake button) and quickly release them.
3. You will see a flash animation and hear a camera shutter sound, indicating that the screenshot has been successfully taken.
4. To access your screenshot, open the Photos app and go to the “Screenshots” album.
How to Take a Screenshot on iPhone without Buttons
In addition to using buttons, some iPhone models also offer alternative methods for taking screenshots without physical button combinations.
One such method is AssistiveTouch, a virtual button accessible through the Accessibility settings. By enabling AssistiveTouch, you can take a screenshot by tapping on the virtual button and selecting “Screenshot” from the menu.
Editing and Sharing Your iPhone Screenshots
After capturing a screenshot, you may want to make some adjustments or share it with others. Luckily, iPhone offers built-in tools for editing and sharing screenshots.
How to Edit a Screenshot on iPhone
1. Open the screenshot in the Photos app.
2. Tap the “Edit” button.
3. Use the editing tools to crop, rotate, add text, or draw on the screenshot.
4. Once you are satisfied with the edits, tap “Done” to save the changes.
How to Share a Screenshot on iPhone
Sharing a screenshot with others is easy and can be done through various communication channels:
- Select the screenshot you want to share from the Photos app.
- Tap the share icon, usually represented by a square with an arrow pointing upward.
- Choose your preferred sharing method, such as messaging apps, email, social media platforms, or cloud storage services.
- Follow the prompts to complete the sharing process.
Troubleshooting Common Screenshot Issues
Despite the user-friendly nature of taking screenshots on an iPhone, there may be times when you encounter issues or limitations. Let’s take a look at some common problems and their solutions.
Why Can’t I Take a Screenshot on My iPhone?
If you are unable to capture a screenshot on your iPhone, try the following troubleshooting steps:
- Restart your iPhone and try again.
- Make sure you are pressing the correct buttons simultaneously.
- Check if the screenshot feature is enabled in the Accessibility settings.
- Free up storage space on your iPhone as a lack of storage can affect certain functionality.
How to Fix Common Screenshot Problems
If you encounter issues with blurry screenshots, screenshots not saving, or any other related problems, try the following solutions:
- Ensure your iPhone is updated to the latest iOS version.
- Check if there is enough available storage space on your device.
- Reset your iPhone settings by going to Settings > General > Reset > Reset All Settings. This will not erase your data but may help resolve the issue.
- If all else fails, contact Apple Support for further assistance.
Capturing screenshots on your iPhone is a simple and powerful feature that can enhance your productivity and communication. Whether you need to save important information, share funny moments, or troubleshoot issues, knowing how to take, edit, and share screenshots on your iPhone is a valuable skill. Remember to utilize the various features and tools available on your specific iPhone model to make the most out of your screenshot experience.
Enhance Your Screenshots with GIFCaster
Ready to take your iPhone screenshots to the next level? With GIFCaster, you can easily add a touch of personality and fun to your captures. Transform a standard work message into a delightful celebration or express your creativity with engaging GIFs. Make your screenshots more than just images; make them memorable and shareable moments. Don’t miss out on the fun—use the GIFCaster App today and start turning your screenshots into animated conversations.