In today’s digital age, taking screenshots has become an essential skill for iPhone users. Whether you want to capture a funny meme, save an important message, or document a bug for troubleshooting, knowing how to take a screenshot on your iPhone can be incredibly useful. In this article, we will guide you through the process step by step, ensuring you never miss an important moment again.
Understanding the Basics of Screenshots
Before delving into the intricacies of taking a screenshot on your iPhone, it’s crucial to understand what a screenshot actually is and why it holds such significance. A screenshot is a digital image of whatever is displayed on your iPhone screen at a specific moment. It captures the exact layout, text, and images visible on your device, providing you with a static snapshot of your screen.
Taking a screenshot not only allows you to capture cherished memories but also enables you to share important information, troubleshoot issues, and seek assistance from others with ease. By harnessing the power of screenshots, you can communicate visually, making it simpler to convey complex information or technical problems.
What is a Screenshot?
A screenshot is a digital photograph captured by your iPhone that replicates the content displayed on its screen. It essentially freezes the current state of your screen, allowing you to save and share it for future reference.
Imagine you are browsing through a fascinating article on your iPhone and stumble upon a paragraph that resonates with you deeply. Instead of bookmarking the page or writing down the text, you can quickly take a screenshot and have the exact words preserved in an image. This way, you can revisit the content at any time, even if you are offline.
Moreover, if you encounter an error message while using an app or navigating a website, capturing a screenshot of the error can be immensely helpful when seeking assistance. Instead of struggling to explain the issue in words, you can simply share the screenshot with customer support or technical experts, allowing them to visually understand the problem and provide a more accurate solution.
Why Taking Screenshots is Useful
The benefits of taking screenshots on an iPhone are vast and varied. With a simple tap of a few buttons, you can immortalize funny moments, save reference material for offline use, or capture error messages for troubleshooting purposes.
Let’s say you stumble upon a hilarious conversation with your friends on a messaging app. By taking a screenshot, you can preserve the laughter-inducing exchange and share it with others, spreading joy and creating lasting memories.
Furthermore, screenshots empower you to share information with others in an efficient and visually appealing manner. Instead of struggling to describe what you see on your screen, a screenshot removes any ambiguity and provides a clear representation of the content you wish to share.
For example, if you come across a stunning image or a captivating quote while browsing the internet, you can easily capture a screenshot and share it on social media platforms or send it to friends. This way, you can instantly convey the beauty or the significance of the content without relying solely on words.
In addition, screenshots can be a valuable tool for professionals in various fields. Whether you are a designer showcasing your work, a teacher explaining a concept, or a businessperson presenting data, screenshots can enhance your communication by providing visual evidence and clarity.
Overall, the ability to take screenshots on your iPhone opens up a world of possibilities. It allows you to capture and preserve moments, simplify communication, and seek assistance effectively. So, the next time you come across something worth saving or sharing, remember the power of a screenshot.
Preparing Your iPhone for Screenshots
Before you begin taking screenshots, it’s essential to ensure that your iPhone is ready to capture those precious moments at a moment’s notice. Here are two key steps to prepare your iPhone for taking screenshots:
Checking Your iPhone Model
The process of taking a screenshot can slightly differ based on your iPhone model. The location of the necessary buttons and the overall procedure may vary. Therefore, it’s crucial to identify your iPhone model to ensure accurate instructions.
To check your iPhone model, go to your device’s “Settings” and navigate to “General.” From there, select “About” and look for the “Model” or “Model Number” section. Once you have this information, you can proceed confidently, knowing that the instructions provided are tailored to your specific device.
Knowing your iPhone model is not only important for taking screenshots but also for troubleshooting and seeking device-specific support. Different iPhone models have unique features and capabilities, and being aware of your device’s model can help you make the most out of its functionalities.
For example, if you have an iPhone X or later model, you can take advantage of the Face ID feature to authenticate your screenshots. On the other hand, if you have an iPhone with a physical home button, the process of taking screenshots involves using the home button in conjunction with the power button.
By understanding your iPhone model, you can unlock its full potential and explore the various features and functionalities that make your device unique.
Updating Your iOS
Keeping your iPhone’s operating system updated is essential for optimal performance and compatibility. Before taking screenshots, it’s advisable to check if your iOS is up to date.
To update your iOS, head to the “Settings” app, tap “General,” and select “Software Update.” If an update is available, follow the on-screen instructions to download and install it. Once your iOS is up to date, you can proceed with confidence, knowing that any potential issues have been mitigated.
Updating your iOS not only ensures that you have the latest features and improvements but also enhances the security of your device. Apple regularly releases updates to address any vulnerabilities or bugs that may exist in the operating system, providing a safer and more reliable user experience.
Additionally, updating your iOS can introduce new screenshot functionalities and options. Apple often includes enhancements to the screenshot feature in their updates, allowing you to capture and edit screenshots more efficiently.
For instance, recent iOS updates have introduced the ability to take scrolling screenshots, enabling you to capture an entire webpage or document in one image. This feature can be particularly useful when you want to share a lengthy article or a detailed conversation.
By keeping your iOS up to date, you not only ensure that your device is optimized for screenshot taking but also benefit from the latest advancements and improvements in the Apple ecosystem.
The Process of Taking a Screenshot
Now that you’ve prepared your iPhone for screenshot-taking, it’s time to learn how to capture those significant moments. The following instructions will guide you through the process, ensuring you never miss a beat.
Screenshots on iPhone 8 and Earlier Models
If you own an iPhone 8 or an earlier model, the method to take a screenshot is relatively straightforward:
- Identify the content you wish to capture in your screenshot.
- Simultaneously press the “Home” button and the “Power” button on your device. Ensure you press them simultaneously; otherwise, you might trigger unintended actions.
- You will see a quick animation and hear a shutter sound, indicating that the screenshot has been successfully taken.
- The screenshot will then be saved to your iPhone’s Photos app, where you can access and manage it.
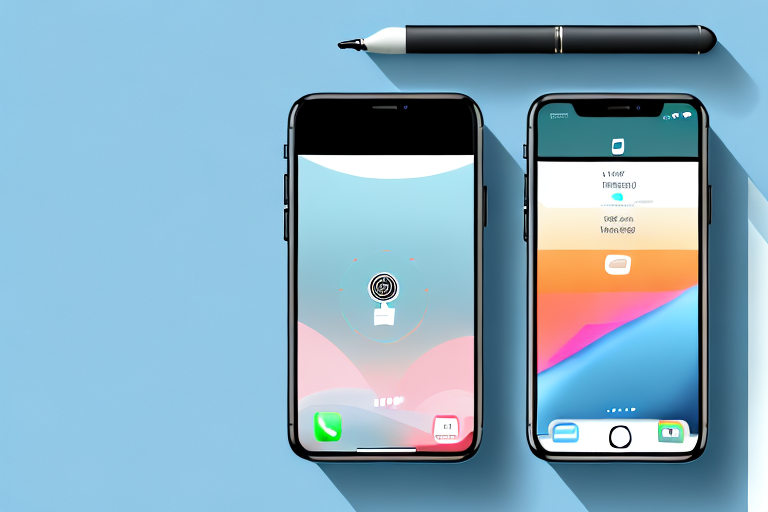
Screenshots on iPhone X and Later Models
If your iPhone model is an X or a later version, the process to take a screenshot differs slightly due to the absence of the Home button:
- Position your device so that the desired content is displayed on the screen.
- Simultaneously press the “Volume Up” button and the “Side” button (previously known as the Sleep/Wake button) on your iPhone. As with earlier models, ensure you press both buttons at the same time.
- Similar to the previous method, you will see a quick animation and hear a shutter sound, indicating that the screenshot has been successfully captured.
- Retrieve and manage your screenshot using the Photos app on your iPhone.
Editing Your Screenshot
Taking a screenshot is just the beginning. To enhance the captured image or focus on specific details, further editing may be required. Luckily, your iPhone provides built-in editing tools that allow you to annotate, crop, and resize your screenshots swiftly.
Using the Instant Markup Tool
The Instant Markup tool simplifies the process of annotating your screenshots. After taking a screenshot, tap the thumbnail that appears in the bottom left corner of your screen. This opens the Instant Markup interface, where you can use various tools to draw, write, highlight, or add text to your screenshot.
Cropping and Resizing Your Screenshot
If you need to crop or resize your screenshot, the Photos app offers intuitive built-in editing capabilities. Open the screenshot in the Photos app, tap “Edit” in the top right corner, and select the cropping tool. From there, drag the corners to adjust the dimensions, or use the Freeform option to create a custom shape. Once satisfied, tap “Done” to save your modifications.
Sharing and Saving Your Screenshot
Now that your screenshot is perfectly captured and edited, it’s time to share it with the world or save it for future reference. Let’s explore how you can effortlessly accomplish these tasks.
How to Share Your Screenshot
Your iPhone offers various ways to share screenshots with others. Once you have selected the desired screenshot in the Photos app, tap the share icon at the bottom left corner of your screen. You will be presented with multiple options, such as AirDrop, Messages, Mail, or social media platforms. Select your preferred sharing method and follow the prompts to share your screenshot seamlessly.
Where Your Screenshots are Saved
By default, your screenshots are saved to the “Screenshots” album in the Photos app. However, you can organize your screenshots into custom albums or move them to other folders for easier access and management. To do this, select the desired screenshot in the Photos app, tap the “Share” icon, and choose the appropriate option to move or create a new album.
Now that you are equipped with the knowledge of how to make a screenshot on your iPhone, you can effortlessly capture and share crucial moments, important information, or technical issues. Remember to use this feature responsibly and respect the privacy of others.
With these skills at your fingertips, you are ready to become a screenshot master, preserving memories, aiding communication, and seeking assistance whenever necessary. Happy screenshotting!
Enhance Your Screenshots with GIFCaster
Ready to take your iPhone screenshots to the next level? With GIFCaster, you can add a touch of personality and creativity to your captures. Transform a simple screen grab into an engaging, fun-filled message by incorporating GIFs that express your mood or enhance your message. Whether it’s a celebratory moment or just adding flair to your daily communications, use the GIFCaster App to make every screenshot memorable. Start making your screenshots stand out today!