In today’s digital age, screenshots have become an essential tool for capturing and sharing information. Whether you want to save an important document, troubleshoot an error, or simply share a funny meme with your friends, knowing how to take screenshots on Windows 10 is a valuable skill. In this article, we will guide you through the process of capturing, editing, and saving screenshots on your Windows 10 device.
Understanding the Basics of Screenshots
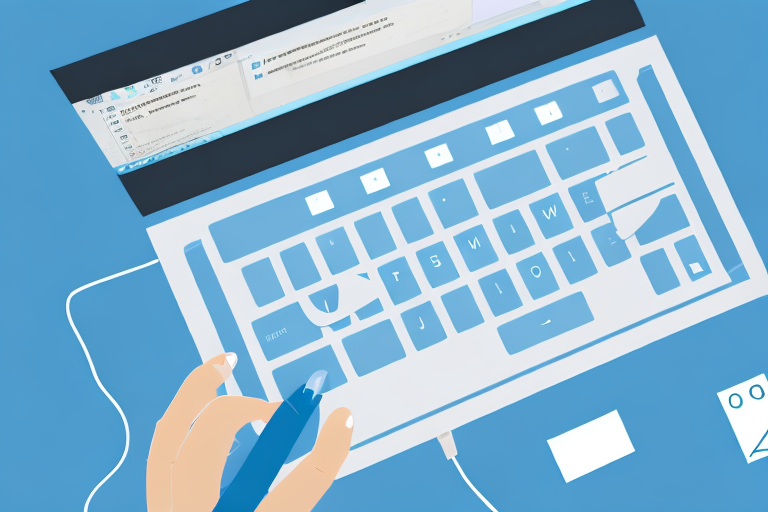
Before we delve into the technicalities of taking screenshots on Windows 10, let’s first understand what a screenshot actually is. In simple terms, a screenshot is an image capture of whatever is currently displayed on your computer screen. It allows you to freeze a moment in time and preserve it as a digital file.
What is a Screenshot?
A screenshot is essentially a snapshot of your computer screen. It captures not only the visual elements but also the text and other graphical information displayed at that particular moment. This makes it a versatile tool for various purposes, be it sharing a funny Twitter conversation or documenting an error message for technical support.
When you take a screenshot, you are essentially creating a visual record of what you see on your screen. This can be useful in many different scenarios. For example, if you are working on a design project and want to share your progress with a client or team member, a screenshot can provide a quick and easy way to do so. It allows you to capture the exact layout, colors, and elements of your design, ensuring that everyone is on the same page.
Additionally, screenshots can be valuable for troubleshooting technical issues. If you encounter an error message while using a new software, taking a screenshot can help developers and support teams troubleshoot the issue more effectively. By capturing the error message and any accompanying details, you provide them with a visual reference that can aid in identifying the problem and finding a solution.
Importance of Screenshots
The importance of screenshots cannot be overstated. They serve as a visual reference and provide concrete evidence of whatever is being displayed on your screen. For example, if you are conducting research and come across an important piece of information online, taking a screenshot ensures that you have a record of it, even if the webpage or content is later modified or removed.
Furthermore, screenshots are an essential communication tool. Instead of trying to explain a complex process or layout with words alone, a screenshot can convey the information visually, making it easier for others to understand. Whether you are providing instructions, sharing feedback, or presenting a concept, a screenshot can enhance your communication by providing a clear visual representation.
Moreover, screenshots can be used for educational purposes. Teachers and trainers can capture important diagrams, charts, or illustrations from online resources and incorporate them into their presentations or study materials. This visual aid can greatly enhance the learning experience and make complex concepts more accessible to students.
In conclusion, screenshots are a valuable tool that allows you to capture and share visual information from your computer screen. Whether you are documenting an error, sharing a funny moment, or enhancing your communication, screenshots play a crucial role in various aspects of our digital lives.
Preparing Your Windows 10 for Screenshots
Before you can start taking screenshots on your Windows 10 device, it’s essential to ensure that your system is ready for the task.
When it comes to capturing moments on your computer screen, Windows 10 provides several options to make the process seamless and efficient. Whether you’re a professional designer, a tech-savvy individual, or simply someone who wants to share an interesting image or information with others, knowing how to prepare your Windows 10 for screenshots is crucial.
Checking Your System’s Compatibility
Most Windows 10 devices come equipped with the necessary functionality to take screenshots. However, it’s still a good idea to verify that your system is compatible. To do this, simply press the Windows key + Print Screen key simultaneously. If your screen dims for a brief moment, it means that your device supports screenshots and is ready to go.
Ensuring compatibility is the first step towards a successful screenshot experience. By performing this quick test, you can confirm that your Windows 10 device is equipped with the essential features to capture and save screenshots effortlessly.
If nothing happens when you press the Windows key + Print Screen key, don’t worry. In some cases, certain system configurations or third-party software may interfere with the default screenshot function. In such cases, we’ll explore alternative methods later in this article.
Windows 10 is designed to be user-friendly, and even if your device doesn’t support screenshots through the Windows key + Print Screen combination, there are still other ways to capture your screen. Let’s dive into the various tools and methods available.
Necessary Tools for Taking Screenshots
Windows 10 offers not just one, but multiple tools for taking screenshots. The two primary methods are the Print Screen key and the Snipping Tool. Both provide different levels of functionality and flexibility, so it’s worth familiarizing yourself with both to determine which one works best for your needs.
The Print Screen key, often labeled as “PrtScn” on your keyboard, is a straightforward and quick way to capture your entire screen. When pressed, it copies the contents of your screen to the clipboard, allowing you to paste it into an image editing software or document of your choice. This method is ideal for capturing a full-screen image without any additional editing requirements.
On the other hand, the Snipping Tool offers more advanced features, allowing you to capture specific areas of your screen with precision. With the Snipping Tool, you can select a portion of your screen, annotate it, and save it as an image file. This tool is perfect for highlighting specific details or capturing a specific region of your screen without including unnecessary elements.
By familiarizing yourself with both the Print Screen key and the Snipping Tool, you can harness the power of Windows 10’s screenshot capabilities to suit your specific needs. Whether you’re capturing an entire webpage, a specific window, or a particular section of your screen, these tools provide the versatility required to accomplish your screenshot goals.
Different Methods of Taking Screenshots on Windows 10
Now that you have ensured your Windows 10 device is ready for screenshots, let’s explore the different methods available.
Using the Print Screen Key
The Print Screen key, often abbreviated as PrtScn or PrtSc, is the quickest and simplest way to capture screenshots on Windows 10. To use this method, follow these steps:
- Locate the Print Screen key on your keyboard. It is typically located near the top-right corner.
- Press the Print Screen key to capture a screenshot of the entire screen.
- Open an image editing software, such as Paint or Adobe Photoshop.
- Press Ctrl + V to paste the screenshot into the software.
- Save the image in your desired format and location.
Utilizing the Snipping Tool
If you want more control over what gets captured in your screenshot, the Snipping Tool is a great option. Here’s how to use it:
- Press the Windows key to open the Start Menu.
- Type “Snipping Tool” in the search bar and click on the corresponding result to open the application.
- Click on the “New” button in the Snipping Tool window.
- Use your mouse to select the area of the screen you want to capture.
- Release the mouse button to take the screenshot.
- Once the screenshot appears in the Snipping Tool window, click on the “Save” button to save it to your desired location.
Taking Advantage of the Snip & Sketch Tool
For Windows 10 users who have updated to the latest versions, the Snip & Sketch tool offers even more features and convenience. To use this tool:
- Press the Windows key + Shift + S to open the Snip & Sketch tool.
- The screen will dim, and a toolbar will appear at the top of the screen.
- Choose the type of snip you want (rectangular, freeform, window, or full screen) from the toolbar.
- Select the area of the screen you wish to capture.
- The screenshot will be copied to the clipboard and saved automatically in the Snip & Sketch tool.
Editing and Saving Your Screenshots
Now that you have captured a screenshot, you might want to make some adjustments before saving it.
Basic Editing Techniques
Most image editing software, including the default Paint application, offer basic editing features that allow you to crop, resize, annotate, or highlight specific areas of your screenshot. These edits can be useful for emphasizing particular details or obscuring sensitive information.
Choosing the Right Format for Saving
When saving your screenshot, it’s important to consider the intended use and future compatibility. For general purposes, saving the screenshot as a JPEG or PNG file is usually sufficient and widely compatible across different platforms and applications. However, if you need a higher quality image or want to preserve transparency, consider saving it as a BMP or TIFF file.
Troubleshooting Common Screenshot Problems
Despite the simplicity of capturing screenshots on Windows 10, some users may encounter issues or run into roadblocks. Here are two common problems and their potential solutions.
Resolving Issues with Print Screen Key
If pressing the Print Screen key doesn’t seem to capture anything, it’s possible that the key’s functionality has been altered or disabled by a third-party software or keyboard shortcut. To address this issue:
- Check your system’s keyboard settings and ensure that the Print Screen key is assigned to the correct function.
- Restart your computer and try capturing a screenshot again.
- If the issue persists, consider using alternative methods like the Snipping Tool or the Snip & Sketch tool, as mentioned earlier in this article.
Fixing Snipping Tool Errors
If you encounter errors or unexpected behavior when using the Snipping Tool, such as blank captures or missing screenshots, try the following troubleshooting steps:
- Restart your system and try using the Snipping Tool again.
- Make sure your Windows 10 is up to date and install any pending updates.
- If the Snipping Tool still doesn’t work correctly, consider using one of the alternative methods mentioned in this article.
With the knowledge and techniques provided in this article, you should now be able to effortlessly take, edit, and save screenshots on your Windows 10 device. Whether it’s for personal or professional use, screenshots are an invaluable tool for capturing and sharing information in the digital realm.
Enhance Your Screenshots with GIFCaster
Ready to take your screenshot game to the next level? With GIFCaster, not only can you capture your screen, but you can also make your screenshots come alive with animated GIFs! Add a touch of fun, engagement, and creative expression to your digital communication. Whether it’s celebrating a team’s success or just brightening someone’s day, a GIFCaster screenshot is the way to go. Don’t settle for ordinary when you can make your messages extraordinary. Use the GIFCaster App today and transform your screenshots into captivating stories.