Screenshots are a handy way to capture and save what’s on your computer screen. Whether you want to save an important document, capture a funny moment in a video, or share an error message with technical support, knowing how to take a screenshot can be extremely useful. In this article, we will explore the basics of taking screenshots in Windows 10 and guide you through the process, step by step.
Understanding the Basics of Screenshots
Screenshots are digital images of the contents displayed on your computer or device screen. They allow you to capture and save what you see, so you can refer back to it later or share it with others. Screenshots can be especially helpful in providing visual documentation or illustrating a point.
There are various reasons why screenshots are useful:
- Troubleshooting: Screenshots can be a valuable tool for troubleshooting computer or software issues. When you encounter an error message or a problem with your device, taking a screenshot can help you capture the exact error or issue you are facing. This can be useful when seeking technical support or when documenting the problem for future reference.
- Visual Documentation: Screenshots are also helpful for visually documenting information. Whether you want to capture a web page, a design concept, or a software demonstration, screenshots allow you to preserve the visual representation of the content. This can be particularly useful when you need to refer back to specific details or when you want to share the information with others.
- Sharing Information: Screenshots are a convenient way to share information with others. Instead of explaining a complex process or describing a visual element, you can simply capture a screenshot and share it. This makes it easier for others to understand your point or follow along with your instructions.
- Collaboration: Screenshots can facilitate collaboration among team members. When working on a project, you can take screenshots to share your progress, gather feedback, or showcase your ideas. This visual representation can enhance communication and ensure that everyone is on the same page.
- Evidence: Screenshots can serve as evidence in various situations. Whether you need to document an online transaction, capture a conversation, or record a visual representation of important information, screenshots can provide a reliable record of what occurred.
What is a Screenshot?
A screenshot, also known as a screen capture or screen grab, is an image of your computer or device screen that preserves the current display at the moment the screenshot is taken. It captures everything that is visible on the screen, including open windows, icons, text, and images.
Why are Screenshots Useful?
Screenshots have numerous practical applications. They can be a valuable tool for troubleshooting computer or software issues. They are also helpful for visually documenting and sharing information, such as error messages, design concepts, web pages, or software demonstrations.
By capturing a screenshot, you can save a visual representation of what you see on your screen. This can be particularly useful when you need to refer back to specific details, share information with others, or provide evidence of a particular situation. Screenshots are easy to capture and can be saved in various image formats, making them accessible and versatile.
Preparing Your Screen for a Screenshot
Prior to taking a screenshot, it’s important to prepare your screen to capture the desired content accurately. Here are a few tips:
Choosing the Right Screen Content
When it comes to taking a screenshot, selecting the right content is crucial. You want to capture the information or image that best represents what you want to convey. Take a moment to carefully decide what you want to include in your screenshot.
Consider the purpose of the screenshot. Are you capturing a specific error message to troubleshoot a technical issue? Or are you capturing a beautiful image to share with your friends? By identifying the purpose, you can ensure that the content you choose is relevant and meaningful.
Furthermore, it’s important to ensure that the chosen content is visible on the screen. Check for any obstructions or overlapping windows that may hinder the clarity of your screenshot. Removing any distracting elements will help your audience focus on the main subject of the screenshot.
Adjusting Screen Settings for Optimal Results
To enhance the quality of your screenshot, consider adjusting your screen settings. These adjustments can make a significant difference in the clarity and readability of the captured content.
Firstly, take a look at the screen brightness. Adjusting it to an appropriate level can prevent your screenshot from appearing too dark or too bright. Finding the right balance will ensure that the colors and details are accurately represented.
Secondly, consider the screen resolution. Higher resolutions generally result in sharper and more detailed screenshots. However, keep in mind that extremely high resolutions may make the text appear smaller and harder to read. Finding the optimal resolution for your specific needs is essential.
Lastly, pay attention to the font size. If you are capturing text in your screenshot, make sure the font size is legible. Adjusting it to a comfortable size will ensure that your audience can easily read the content without straining their eyes.
By taking the time to adjust these screen settings, you can optimize the results of your screenshot and create a visually appealing and informative image.
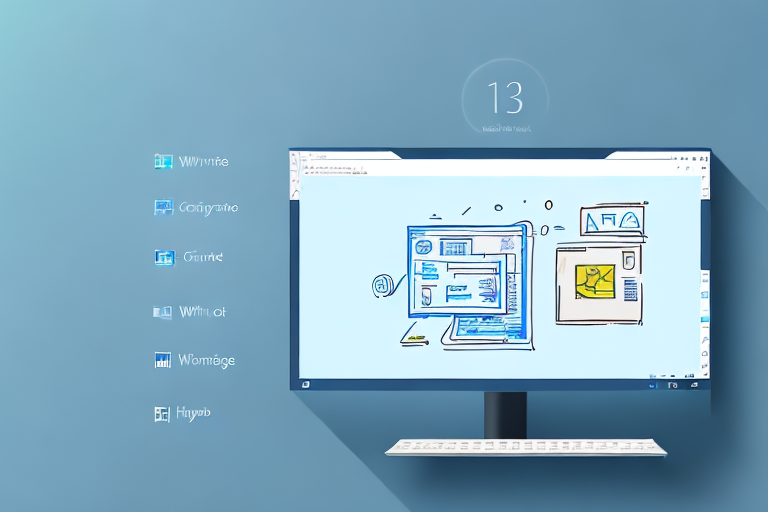
Different Methods to Take a Screenshot in Windows 10
In Windows 10, there are multiple ways to capture screenshots. Let’s explore a few of the most common methods:
Using the Print Screen Key
The Print Screen key, often labeled as “PrtScn” or “PrntScrn” on your keyboard, is a quick and easy way to capture your entire screen. Simply press the Print Screen key, and the screenshot will be saved to the clipboard. You can then paste it into an image editing program or document.
When using the Print Screen key, it’s important to note that it captures the entire screen, including any open windows or applications. This can be useful when you want to capture a snapshot of your entire desktop, including all the icons and open windows.
However, if you only want to capture a specific window or a portion of the screen, there are other methods that offer more flexibility.
Utilizing the Snipping Tool
Windows 10 also includes a built-in application called the Snipping Tool, which allows you to capture specific portions of the screen. With the Snipping Tool, you can select a rectangular, free-form, window, or full-screen capture. After capturing the desired area, you can annotate or save the screenshot.
The Snipping Tool is a versatile tool that gives you more control over what you want to capture. Whether it’s a specific section of a webpage, a particular window, or just a small portion of the screen, the Snipping Tool allows you to capture exactly what you need.
In addition to capturing screenshots, the Snipping Tool also provides basic editing features, such as highlighting, drawing, and adding text to your screenshots. This makes it a handy tool for annotating and sharing information.
Taking Advantage of Windows Game Bar
If you’re a gamer or want to capture screenshots while using applications in full-screen mode, Windows 10 offers the Windows Game Bar. This tool can be accessed by pressing the Windows key + G. It allows you to take screenshots of games, videos, or other programs without interrupting your experience.
The Windows Game Bar is specifically designed for gamers, but it can be used to capture screenshots of any application running in full-screen mode. This is particularly useful when you want to capture a moment in a game or record a video clip without having to exit the game or switch to a different application.
In addition to capturing screenshots, the Windows Game Bar also offers other features like screen recording, broadcasting, and performance monitoring. It’s a powerful tool for gamers and content creators who want to capture and share their gaming experiences.
Editing and Saving Your Screenshot
Once you have captured a screenshot, you may need to make some adjustments or enhancements before saving it. Windows 10 provides basic editing tools to help you customize your screenshots.
Basic Editing Tools in Windows 10
Windows 10 offers a range of basic editing tools within the included Paint application. With Paint, you can crop, resize, add text, draw, or highlight specific areas of your screenshot. These tools empower you to enhance your screenshots and make them more informative or visually appealing.
Choosing the Right Format to Save Your Screenshot
When saving your screenshot, consider the purpose and characteristics of the file. Windows 10 supports various image file formats, such as JPEG, PNG, and GIF. Determine the appropriate format based on factors such as image quality, file size, and compatibility with the intended use of the screenshot.
Sharing Your Screenshots
Screenshots are often shared with others for communication or collaboration purposes. Windows 10 allows you to easily share your screenshots via email or social media platforms. Let’s explore how:
How to Share Screenshots via Email
To share a screenshot via email, open your email client and compose a new message. Use the attach file option to select and attach the screenshot file(s). Add any necessary comments or explanations, and send the email to the desired recipient(s).
Posting Screenshots on Social Media
If you want to share your screenshot on social media, access the platform of your choice (such as Facebook, Twitter, or Instagram) and create a new post. Use the attach image option to upload and insert the screenshot file. Add a caption or description if desired, and post the update for your friends or followers to see.
By following these steps, you can confidently capture and save screenshots using Windows 10. Whether you need to document an issue, create visual tutorials, or share interesting findings, taking screenshots is a valuable skill that can enhance your digital experience and communication.
Enhance Your Screenshots with GIFCaster
Ready to take your screenshot game to the next level? With GIFCaster, not only can you capture your screen, but you can also make your screenshots come alive with animated GIFs. Add a touch of fun and creativity to your communications and turn the mundane into something memorable. Whether it’s celebrating a team’s success or just sharing a laugh, GIFCaster empowers you to express yourself in new and engaging ways. Ready to get started? Use the GIFCaster App today and give your screenshots a burst of personality!